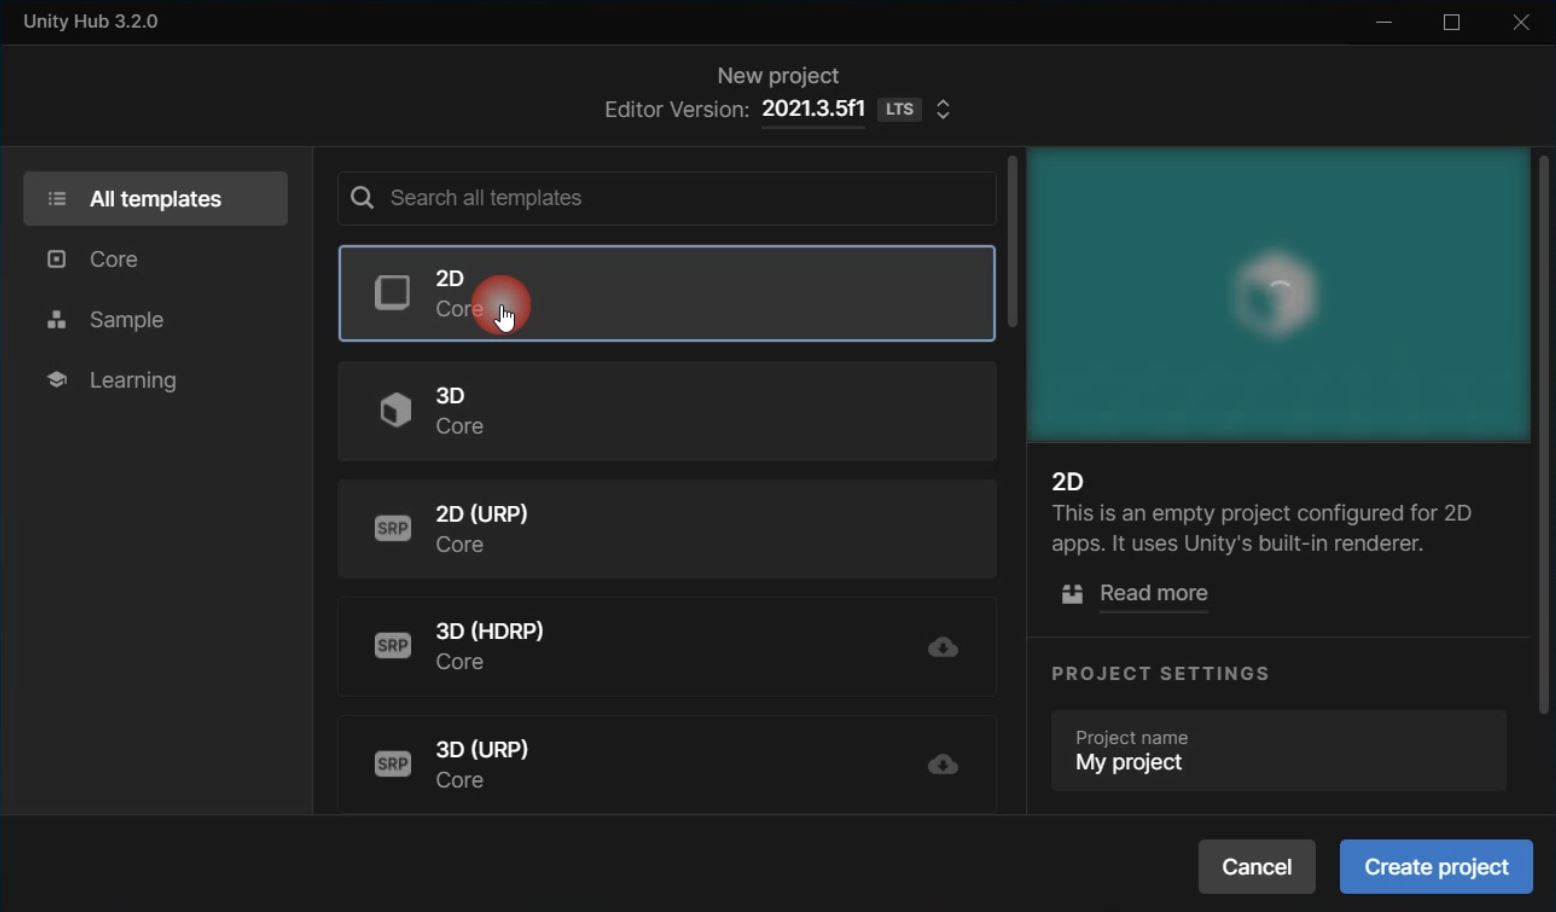
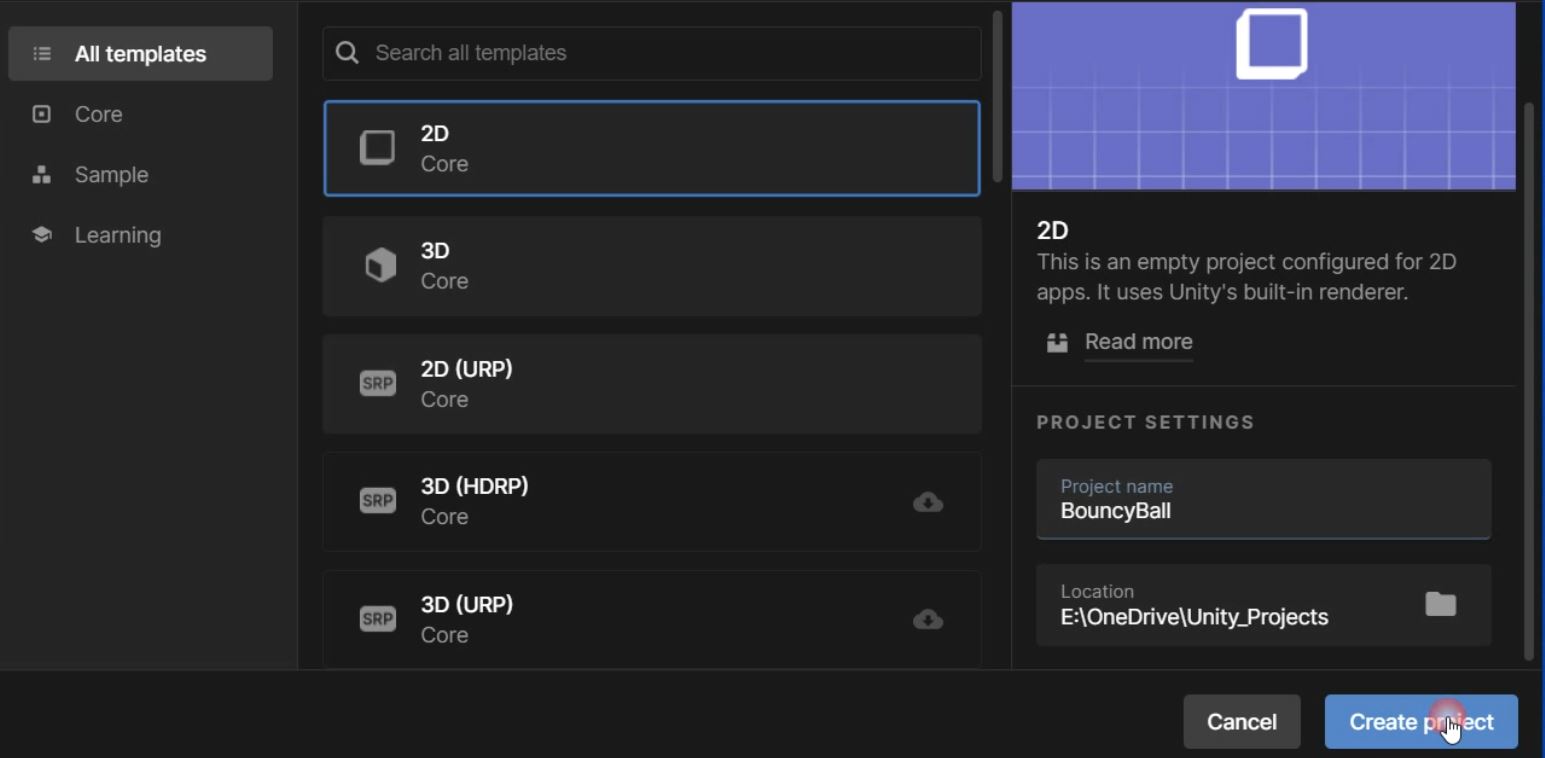
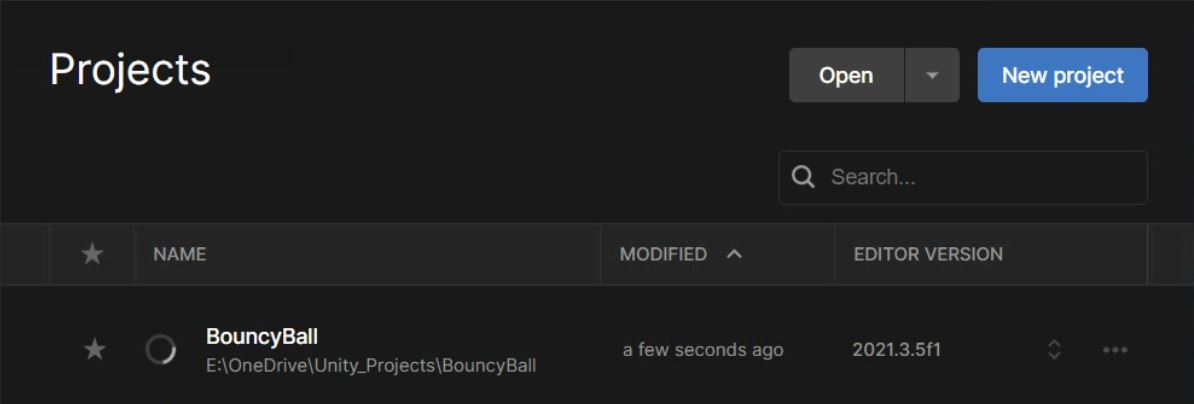
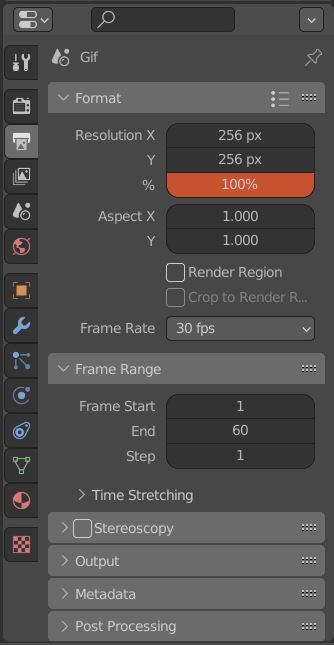
Step 1. - Open Unity hub, if haven't installed it yet click on the icon above and it should take you to the unity website where you can download and install it real quick. Once unity hub is installed and running. Go to your right top corner and click on new project. It should take you to the templates selector. Depending on your Editor version this window will have different options. For this "how to" and since we are just learning how to import our little bouncy ball animation to unity i went with 2D/ core. After you made your selection you have to name your project. I went with BouncyBall, you can name it as you please. We select our prefered directory for our project and We go ahead and click on create new project.
We then wait for unity to load everything up and get us our project ready.
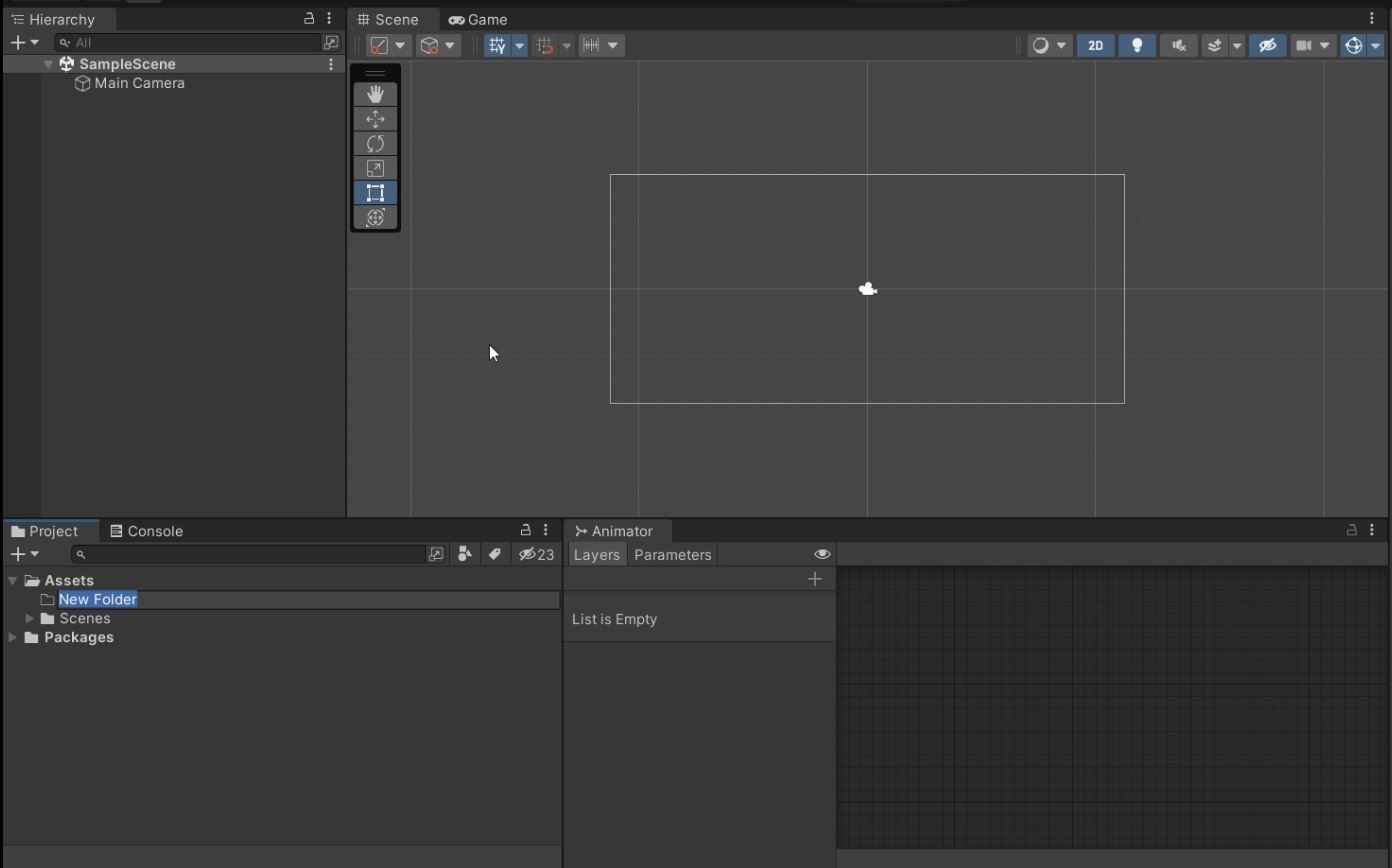
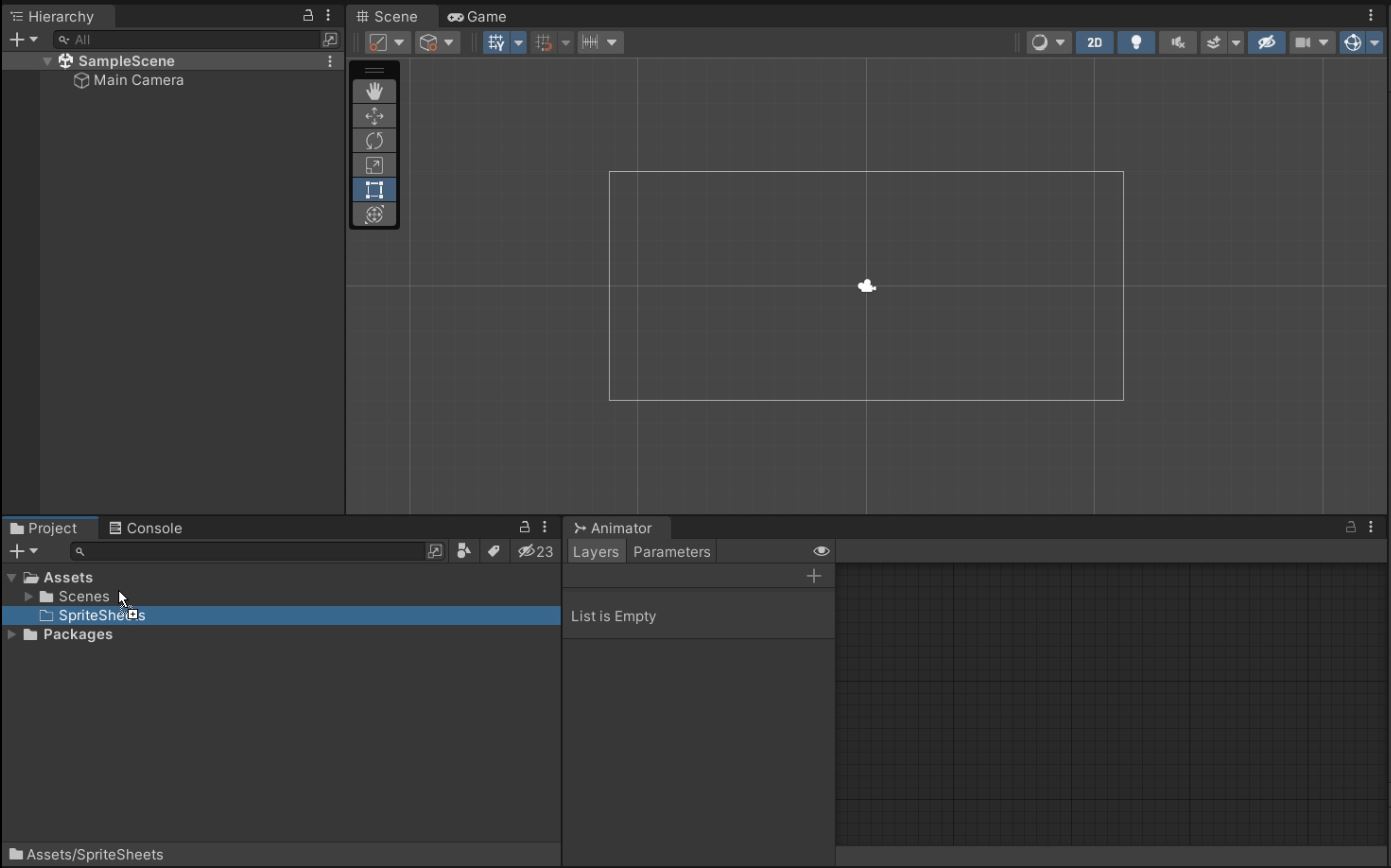
Step 2. - Now that we have the default Unity screen we will go to the project tab and create a new folder by clicking the "right mouse button" over Assets. Navigating to create and selecting new folder, name it SpriteSheets, and we will store our newly created spritesheet in here. Just drag and drop the file.
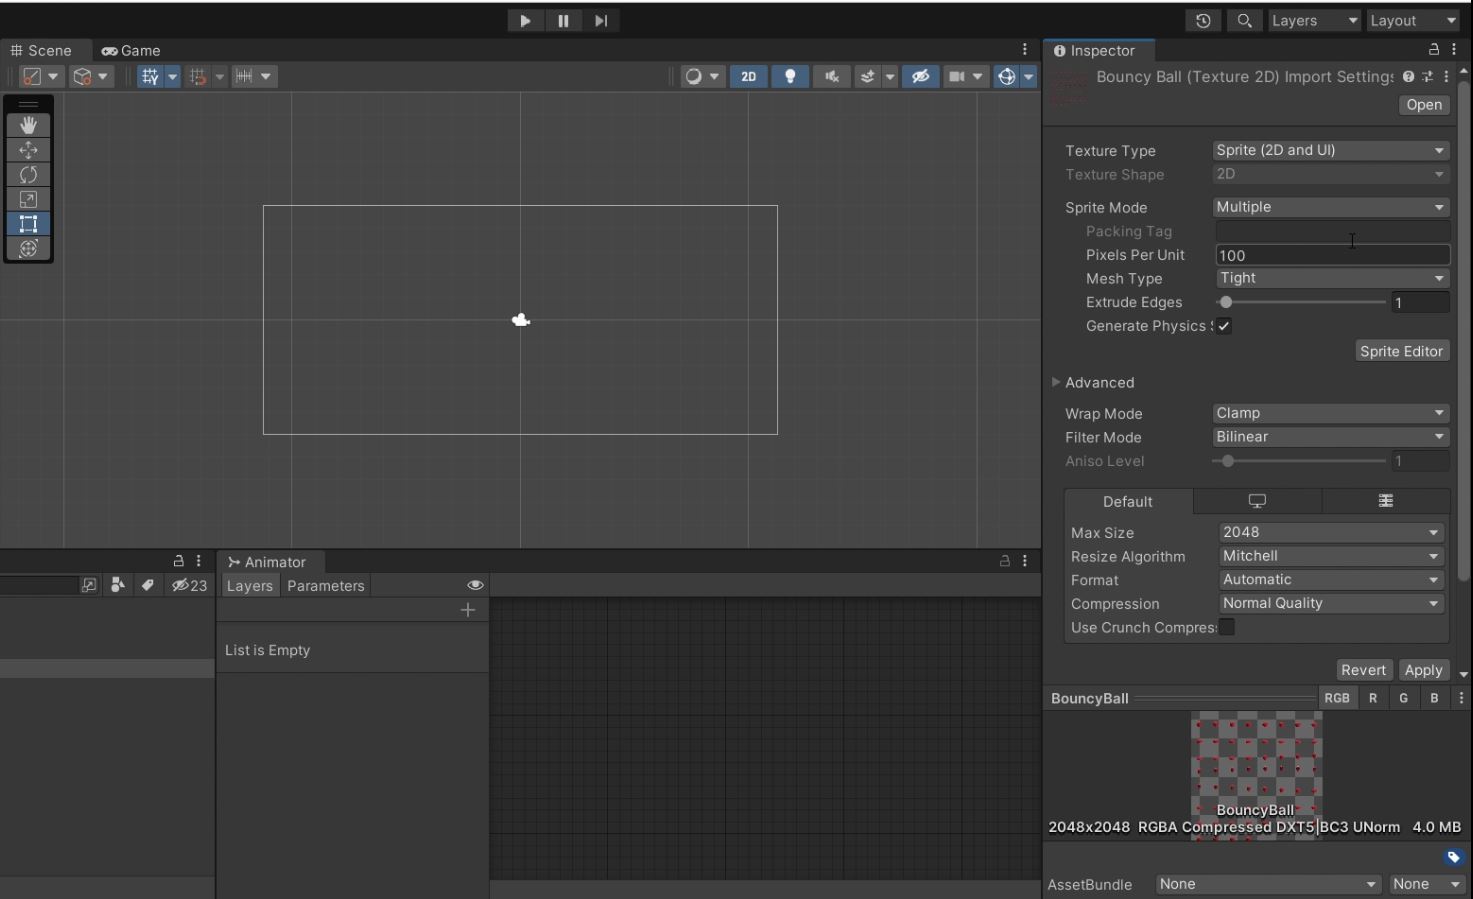
After Unity finish importing this, we go to the inspector tab, and we select nultiple in "sprite mode". then we click apply. This will tell unity that our sprite sheet contains more than 1 sprite and will allow us to go to the sprite editor and slice it.
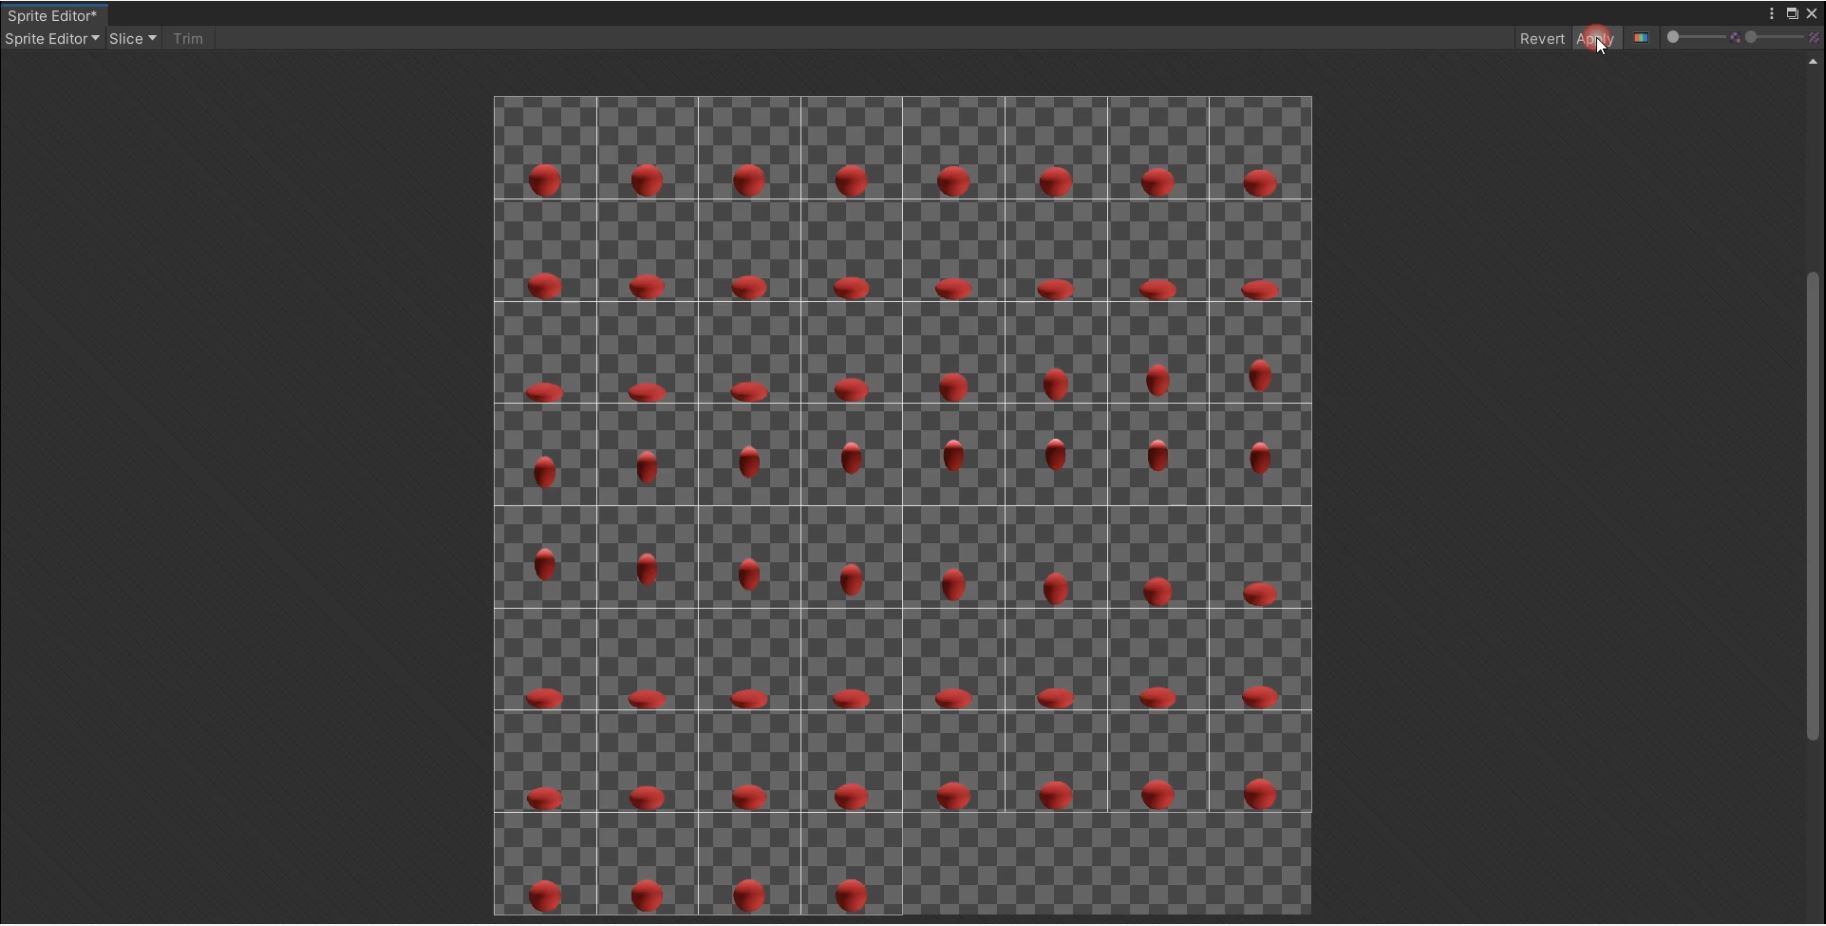
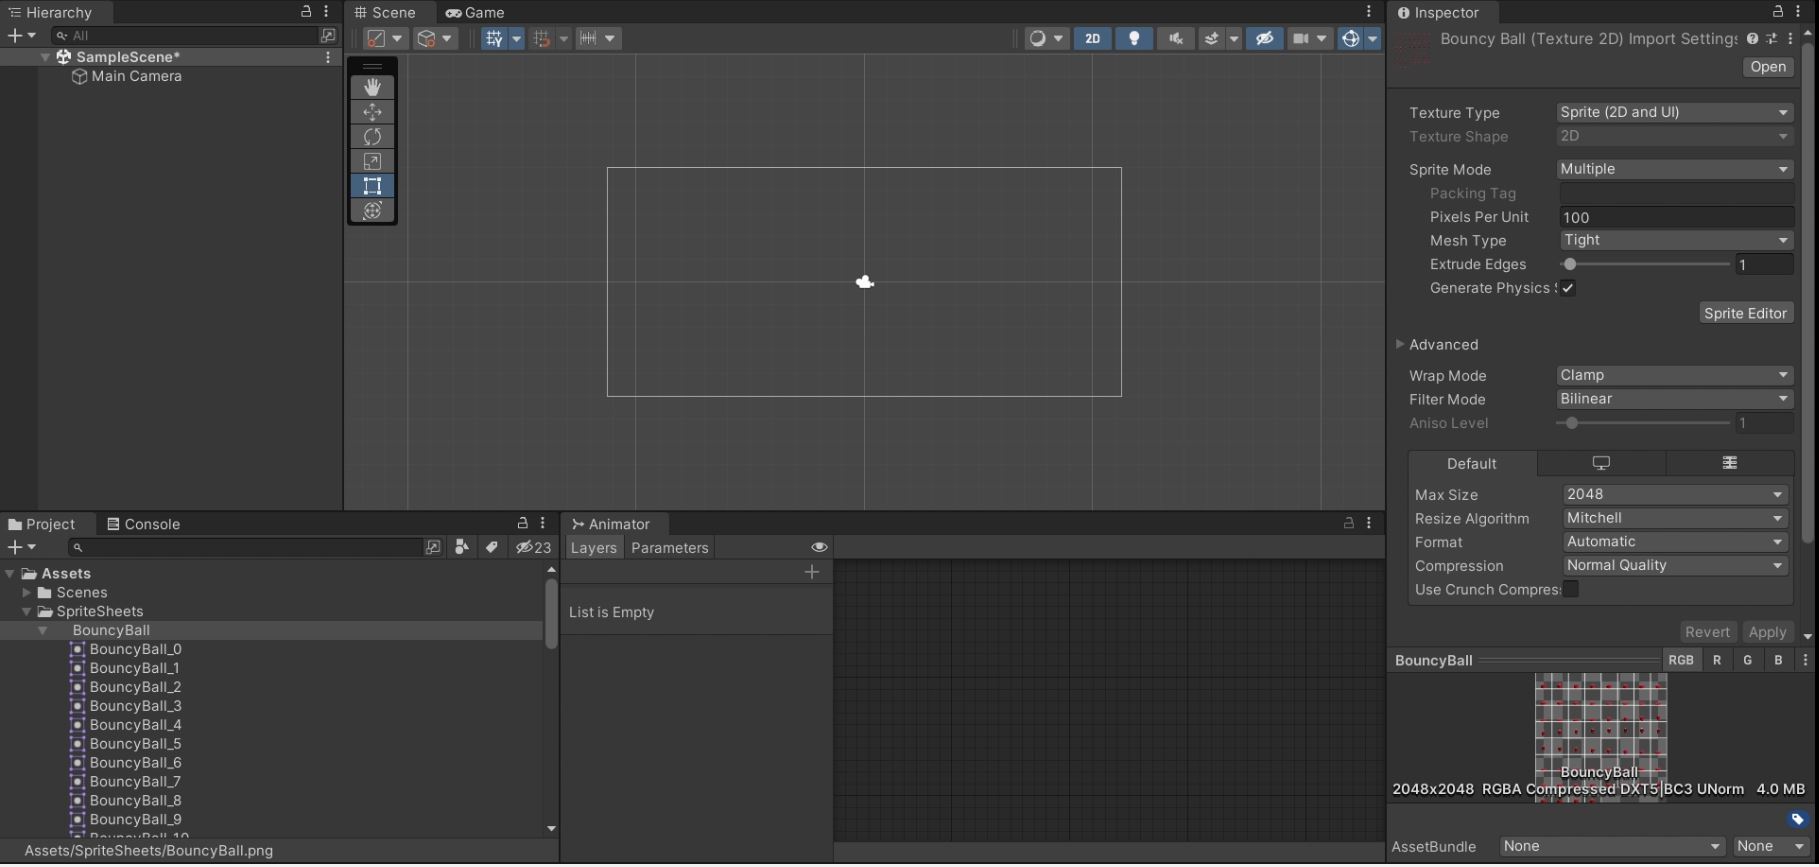
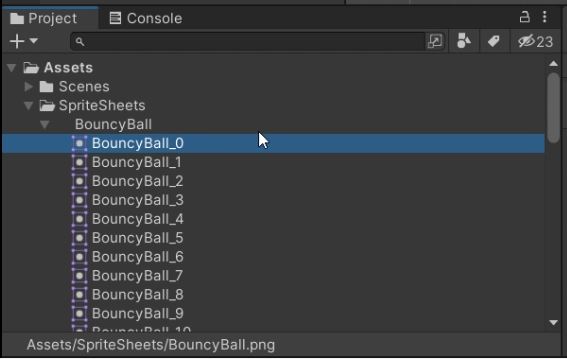
Once we open the sprite editor we will go to slice and in the tab "Type" we will select "Grid By Cell Count" and in the column and row we will input 8 and 8. This is an easy way to slice it keeping the origin point centered and a consistant sprite size along the animation. Then just click apply and we will have the sprite sheet divided.
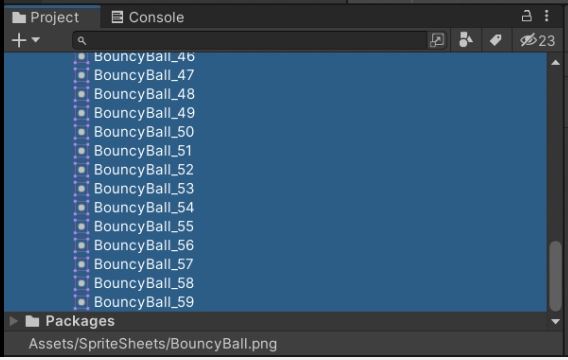
Step 3. - Since we now have the sprite sheet sliced we are going to create the "jump" animation, for that we will select the first object inside our bouncy ball sprite "BouncyBall_0" and "shift + left mouse button" the last object "BouncyBall_59"
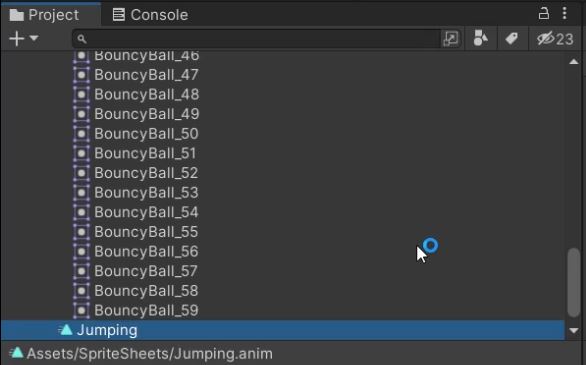
Now that we have everything selected we "right mouse click" go to create and click on "animation". That will create a new object that we will rename to something we can easily identify. "Jumping" in my case.
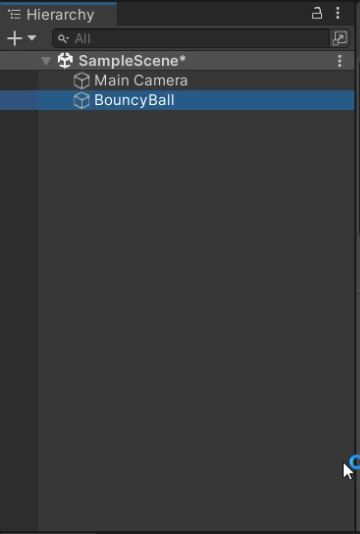
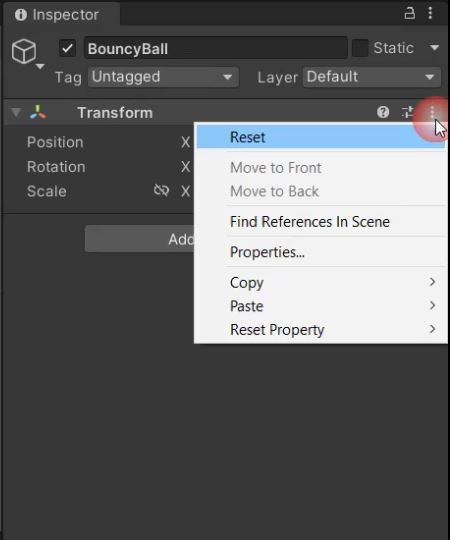
Step 4. - Next we are going to create our sprite container so we are able to see our animation in the game and scene section. Here is what we do: "left mouse button" over the hierarchy tab, right under main camera, and click on "Create Empty". Rename it I once again went with BouncyBall. Then go to thew inspector side on your right and next to Transform there is 3 dots. Click on it and select "Reset" as you can see that will change the current object position to "0" in all the axis. We always want to do that when creating new objects. That will make it easier to locate them on the scene when we are scripting later on.
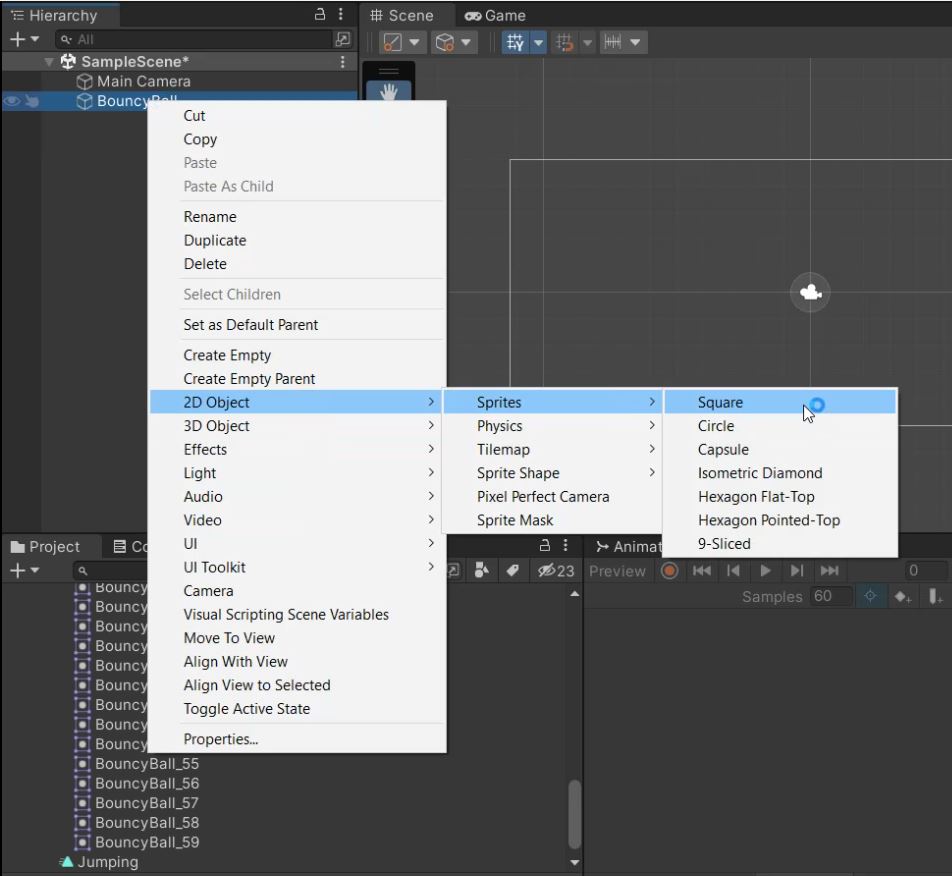
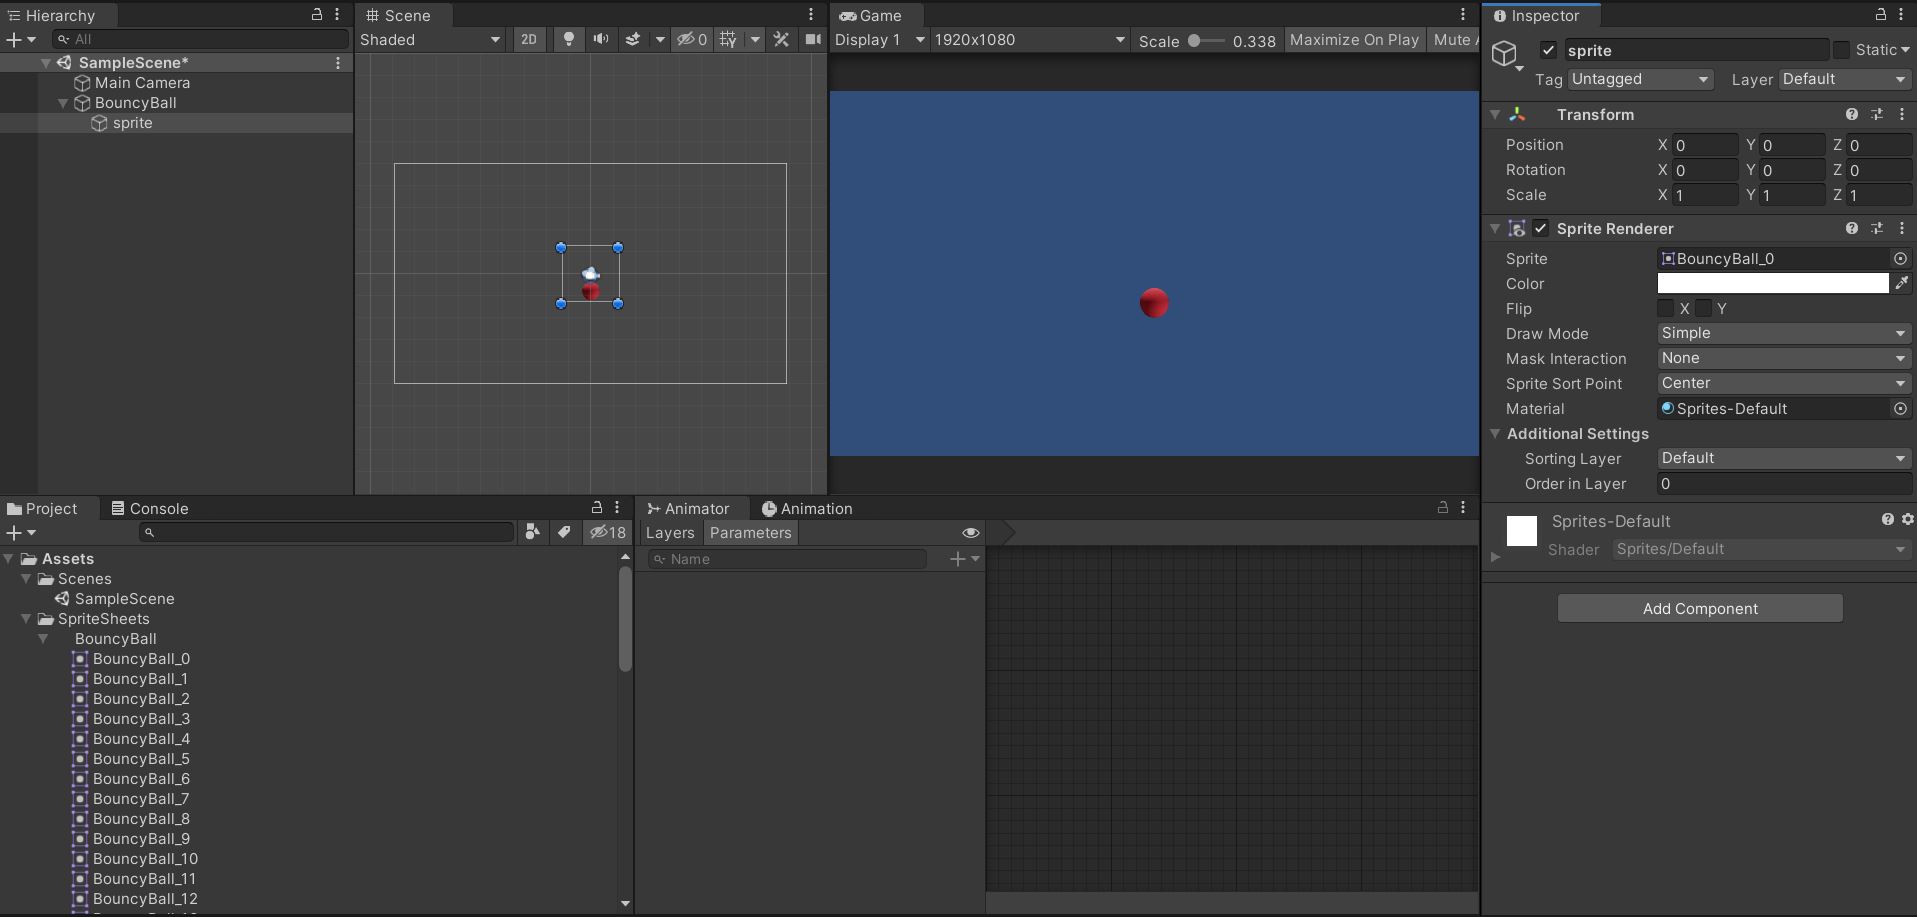
Step 5. - In this step we will create the sprite. "right mouse click" over our Bouncyball game object and look for sprite inside the 2D object category. This menu changes depending on what unity editor you are using so if it doesnt look the same as in the image don't freak out and just keep looking. After that rename your sprite to plain "sprite". And last with the "sprite" object selected just go ahead and drag the "BouncyBall_0" png to the right of the screen in the inspector tab, under sprite renderer. That will make the bouncy ball appear in the screen finally.
Step 6. - It is time to add the animation to the sprite. For that first we need to add a new component to our "sprite" in the inspector tab right under the sprite renderer and default material we will click add component and search for an animator.
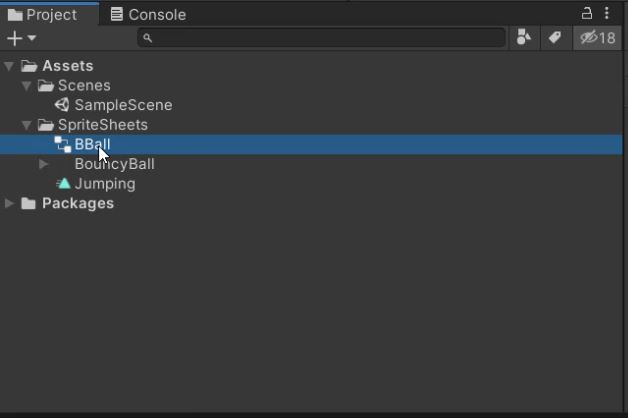
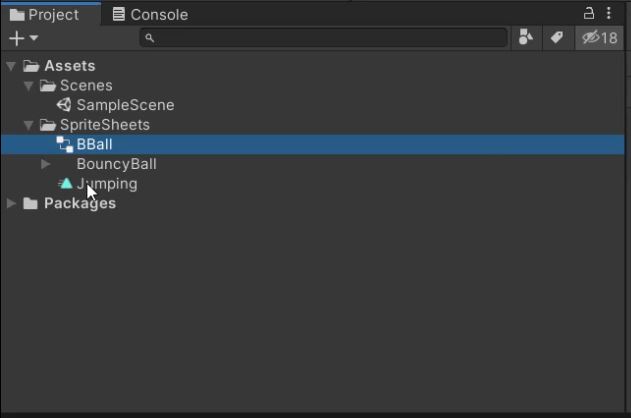
Now that the Animator is created we will go under the project tab and "right mouse click" to create an animator controller under the sprite sheet folder. We will rename it "BBall".
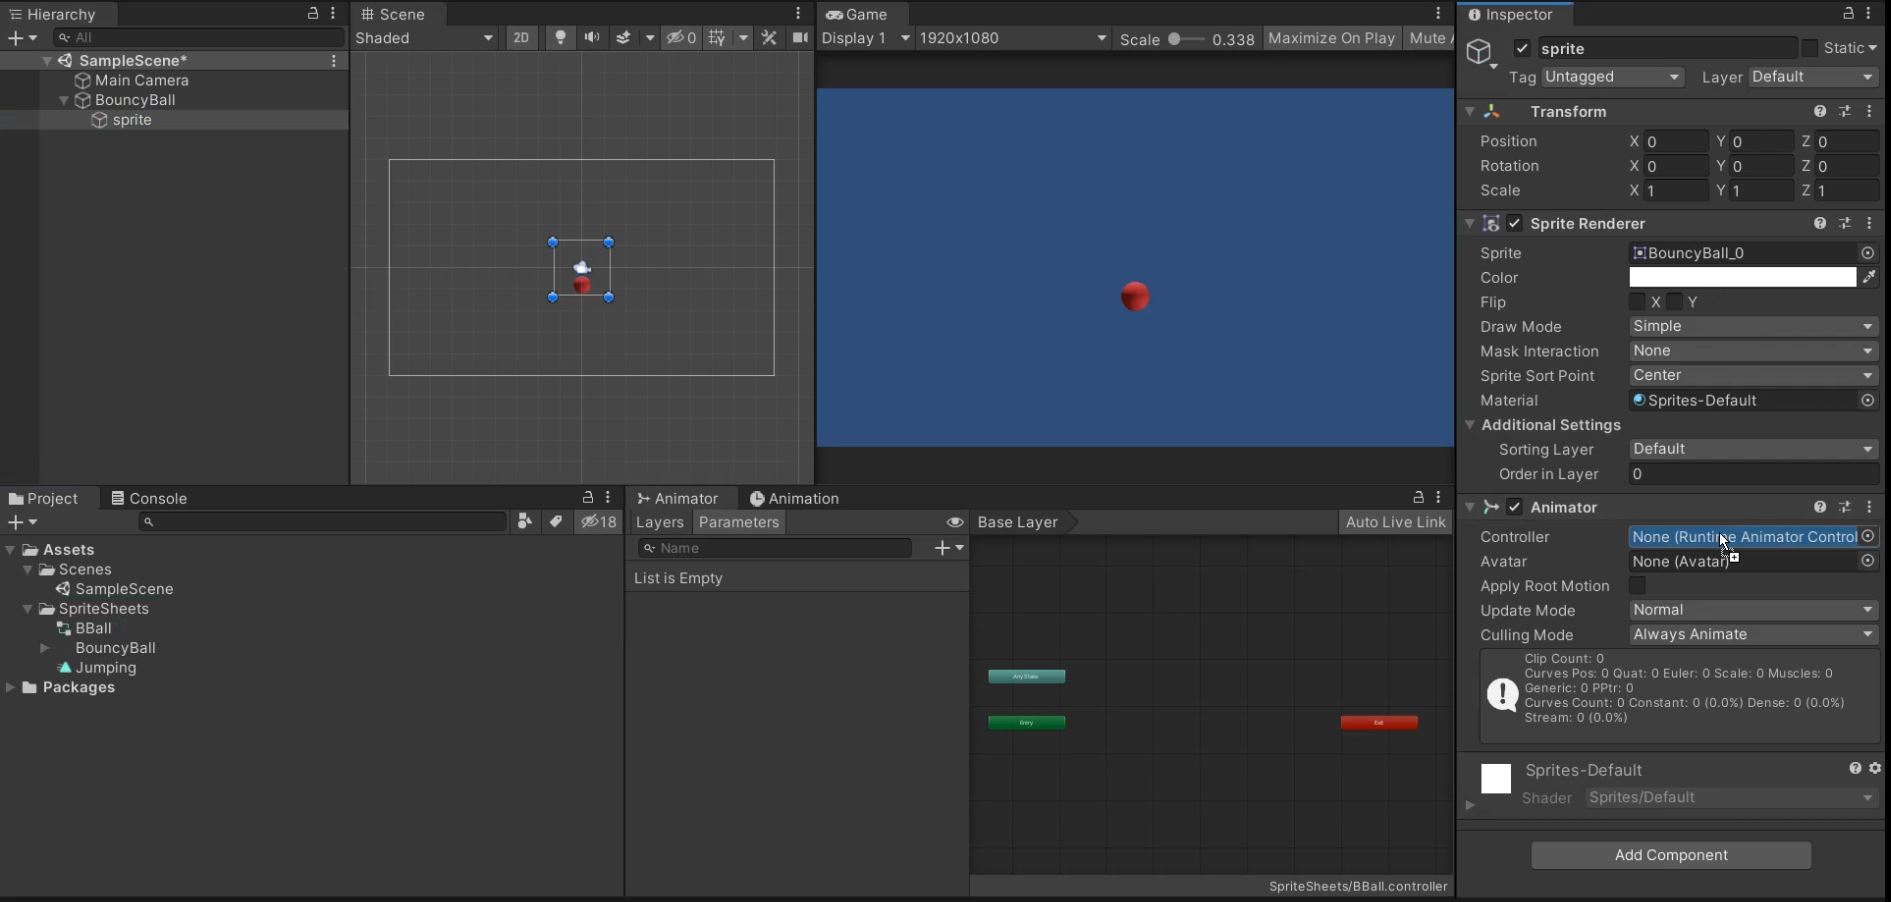
We will grab this controller and place it in the "sprite" under the animator.
Step 7. - The next thing that we are going to do is .... adding the animation to our animator controller. To do that we will just ckick on the "BBall" controller and open the animator Tab.
We will then drag and drop the "jumping" animation and that will make our animation the default animation of the BouncyBall. Which appears in a yellow rectangle below
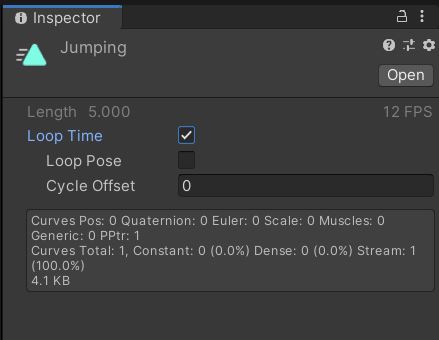
Step 8. - Next we are going to modify some parameters before clicking the play button. So first we select our "jumping" animation under the project tab, and go to the inspector, in there we see the loop time option. We will check it, so our animation will repeat or "loop" in play mode.
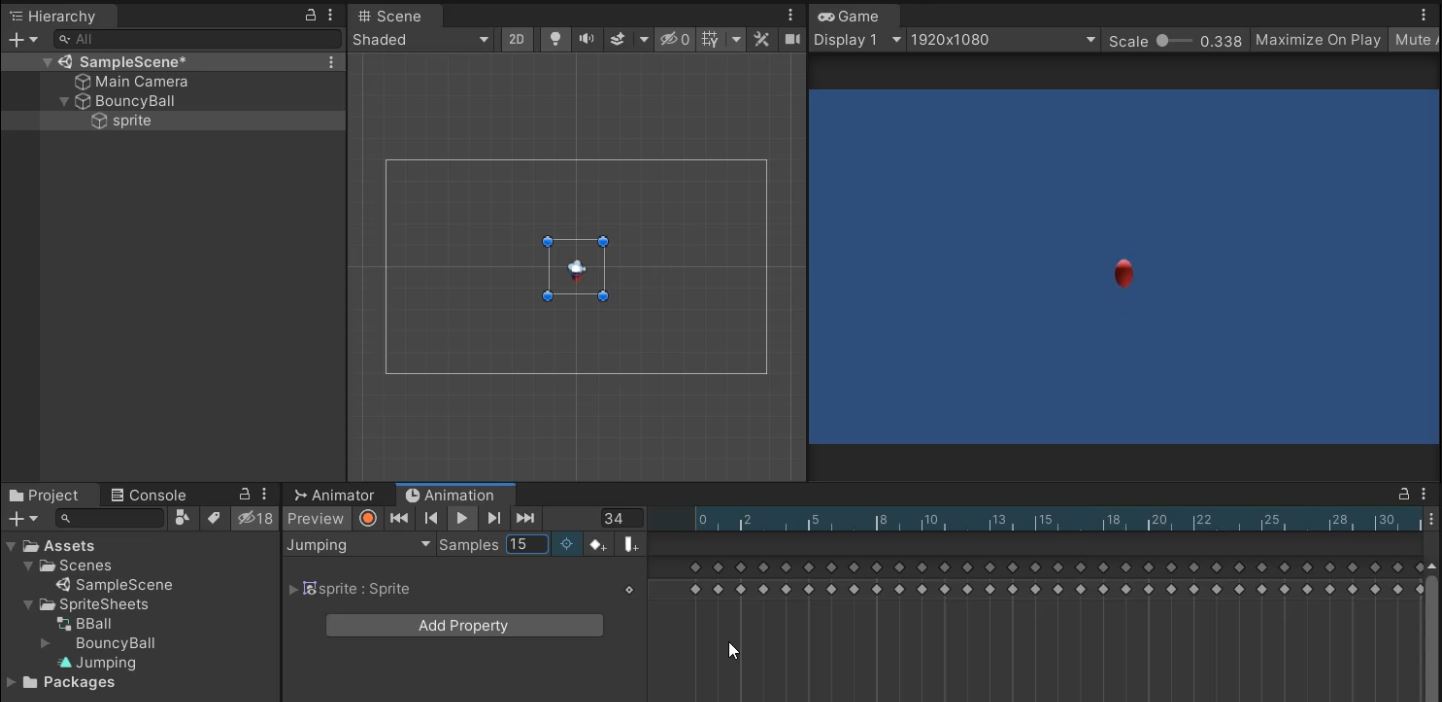
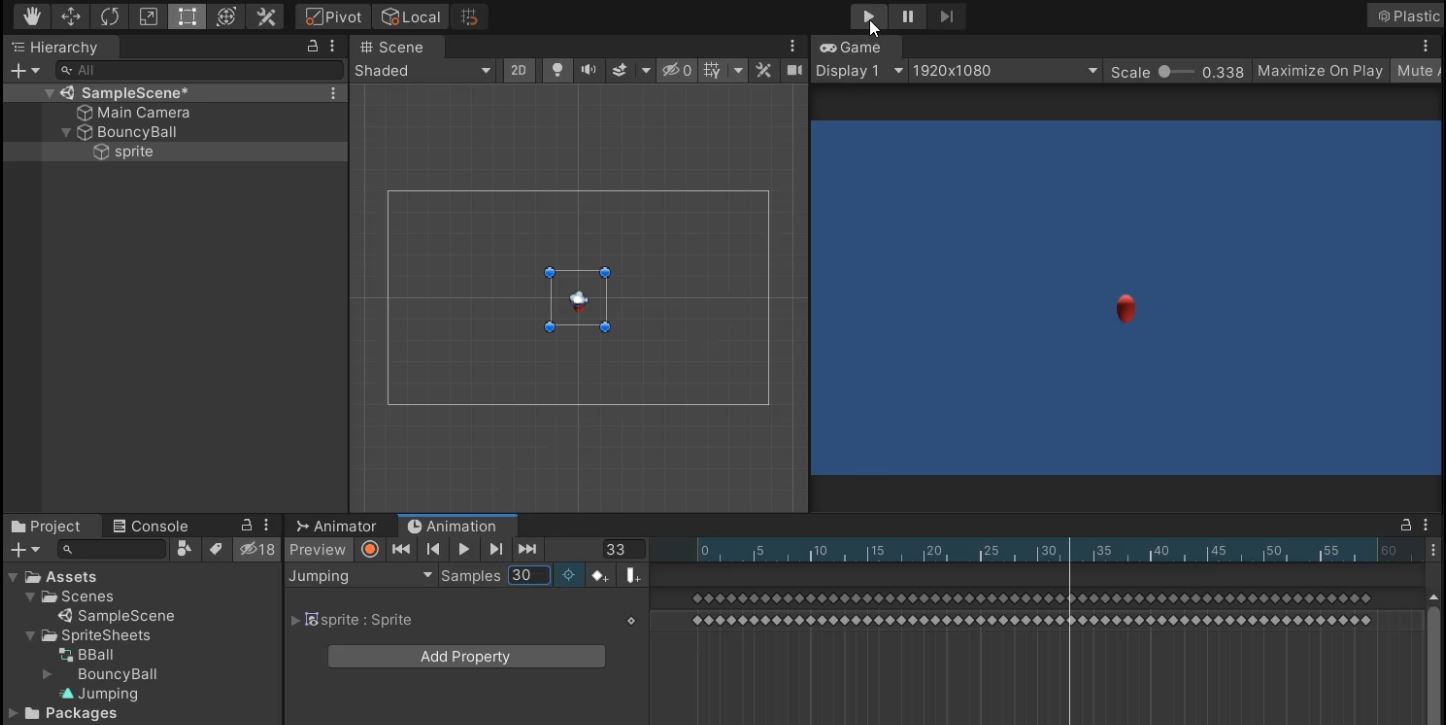
Now Im just going to show you how to change the velocity of our animation. As you can see in the image below there is a box next to the samples tag. There you will modify how fast our animation looks. As you can see in the images the keyframes will separate or come closer depending on the number. So find a number that seems fitting to you.
Step 9. - This will be our last one. Thanks for bearing with me. So after finding the proper velocity with our previous step. We will just go ahead and click the play button above our window in the middle of the screen. Since we don't have any scripts our ball will just stay there "Jumping" but i hope you learned something and with this whole process.
And thats it. We are ready for the next How to!

