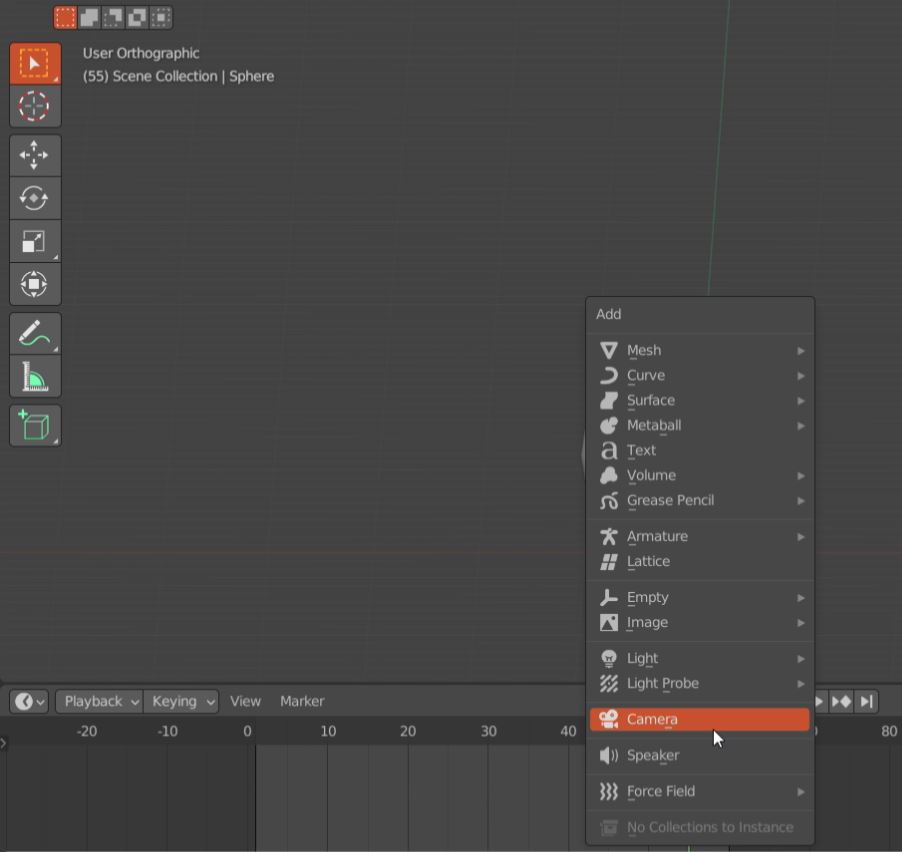
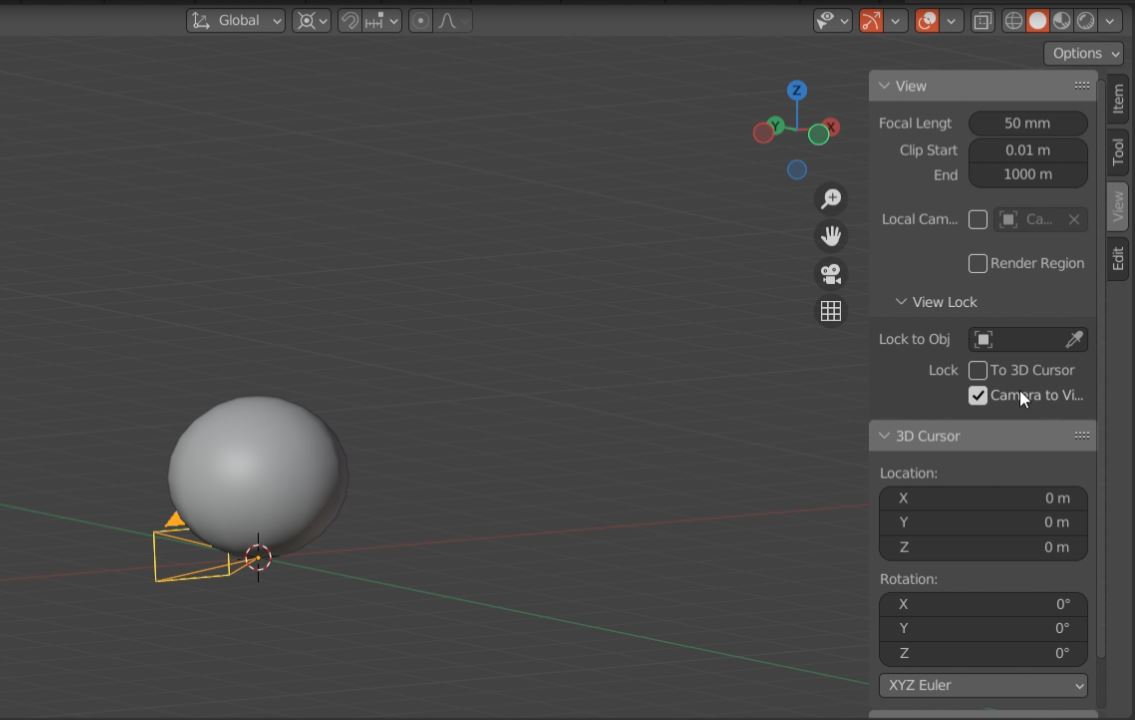
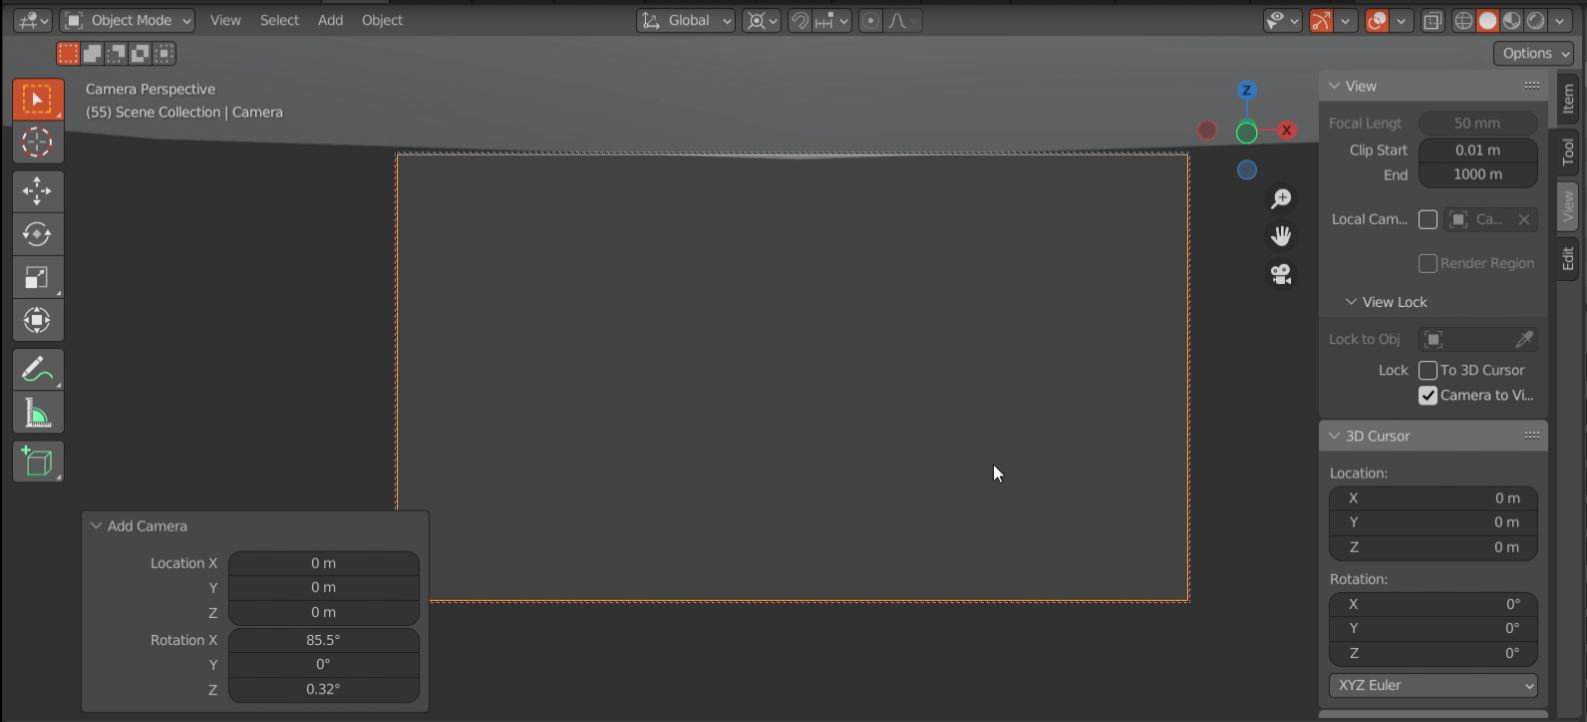
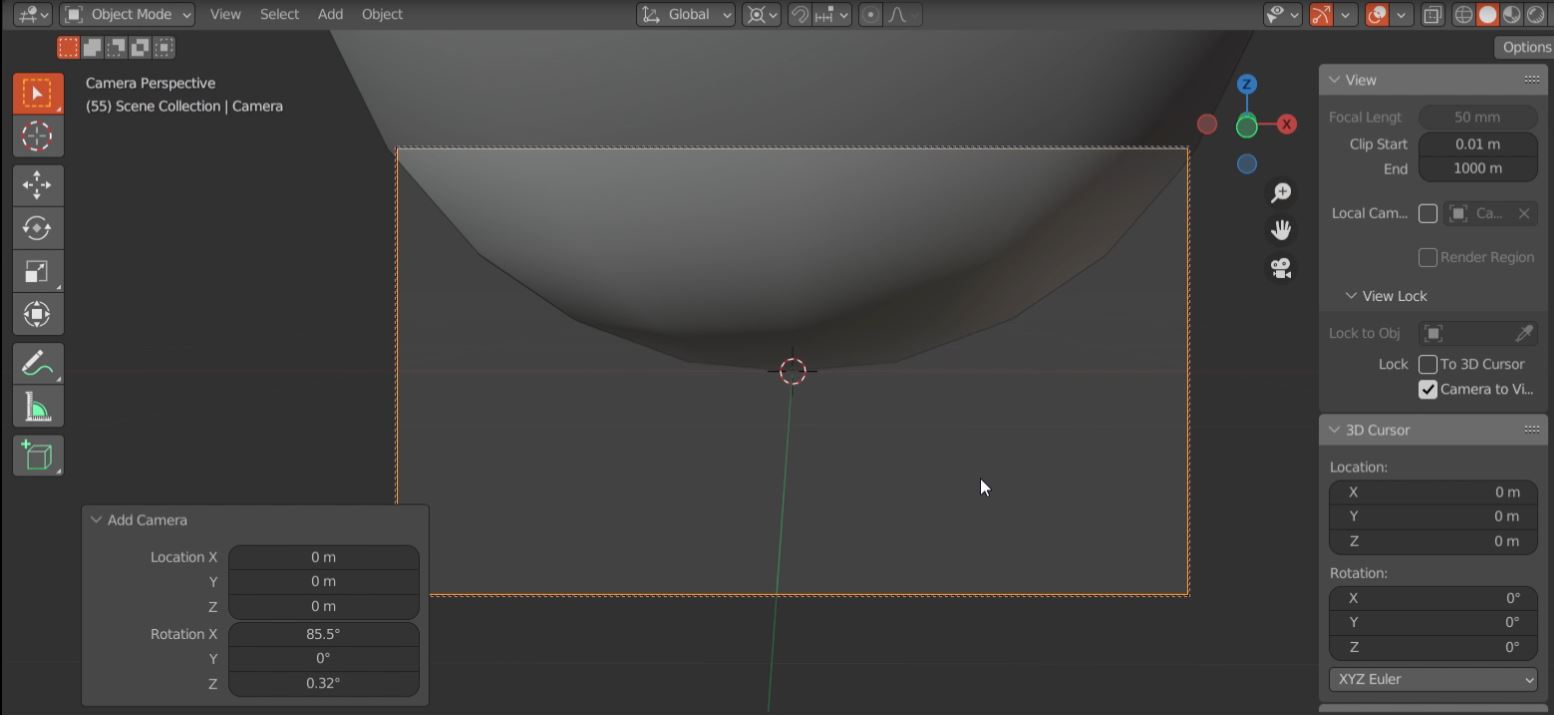
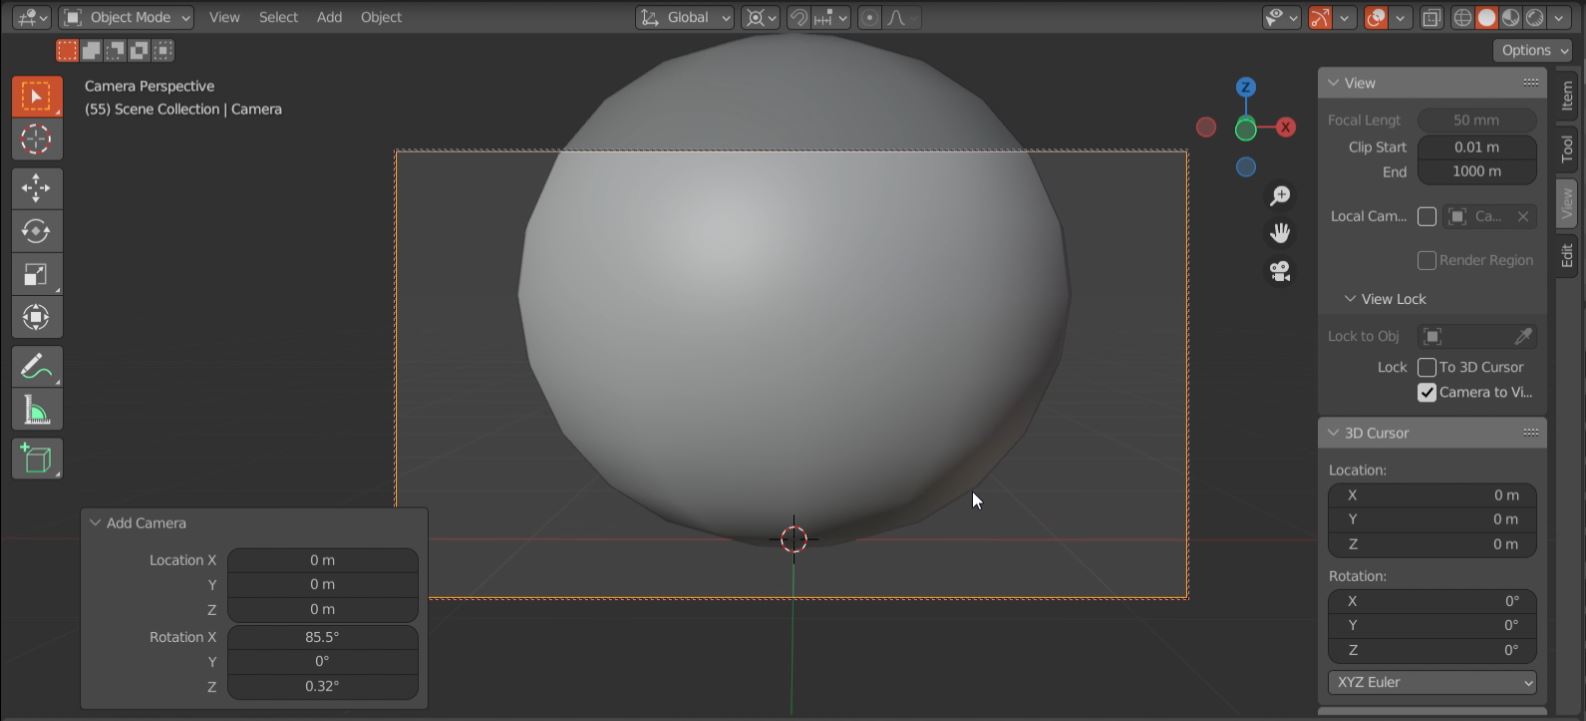
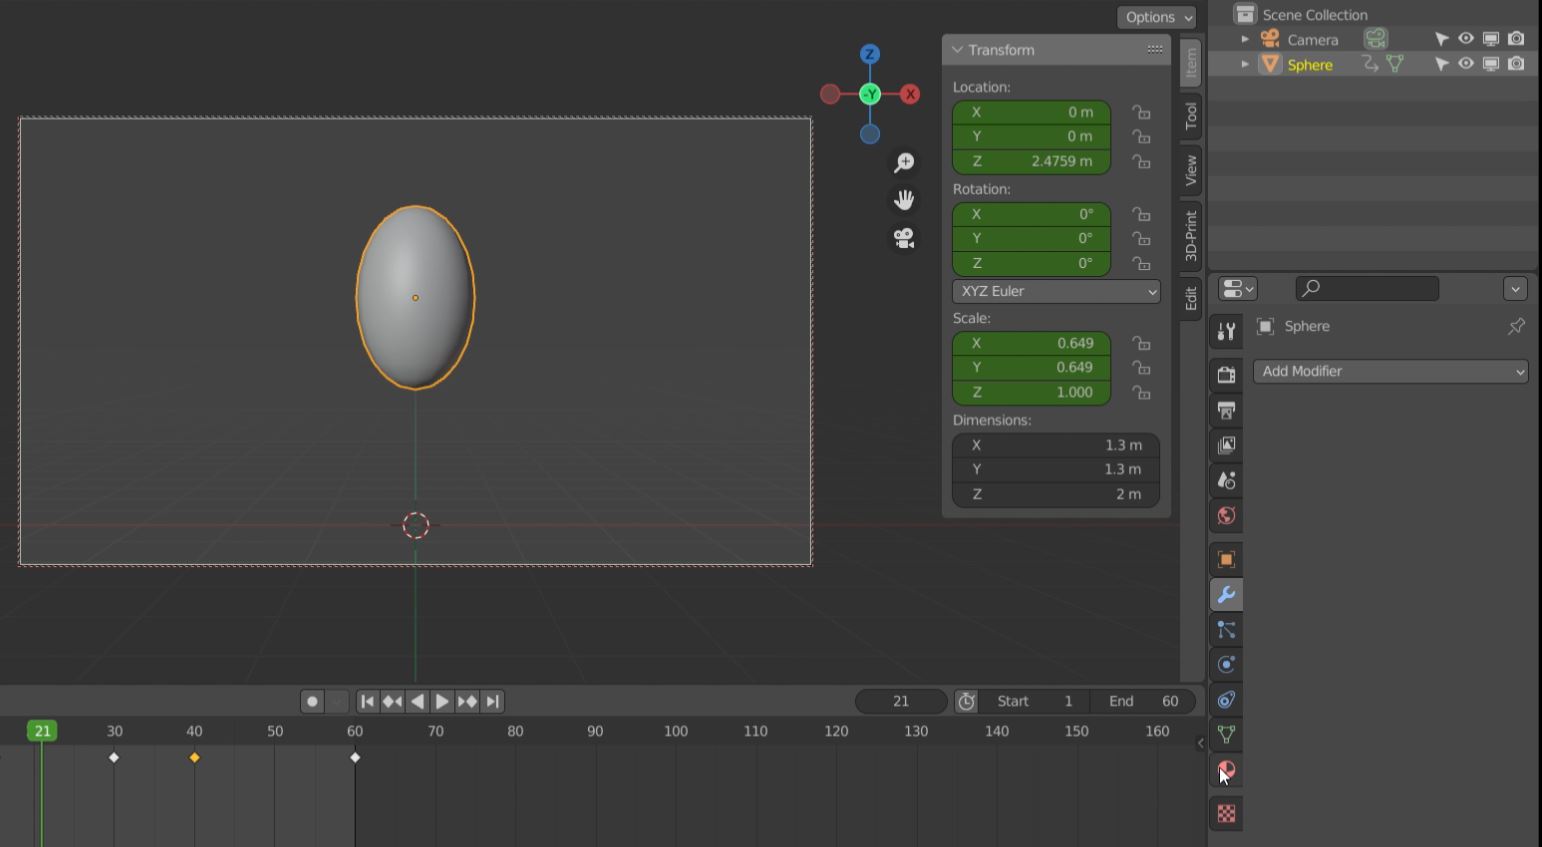
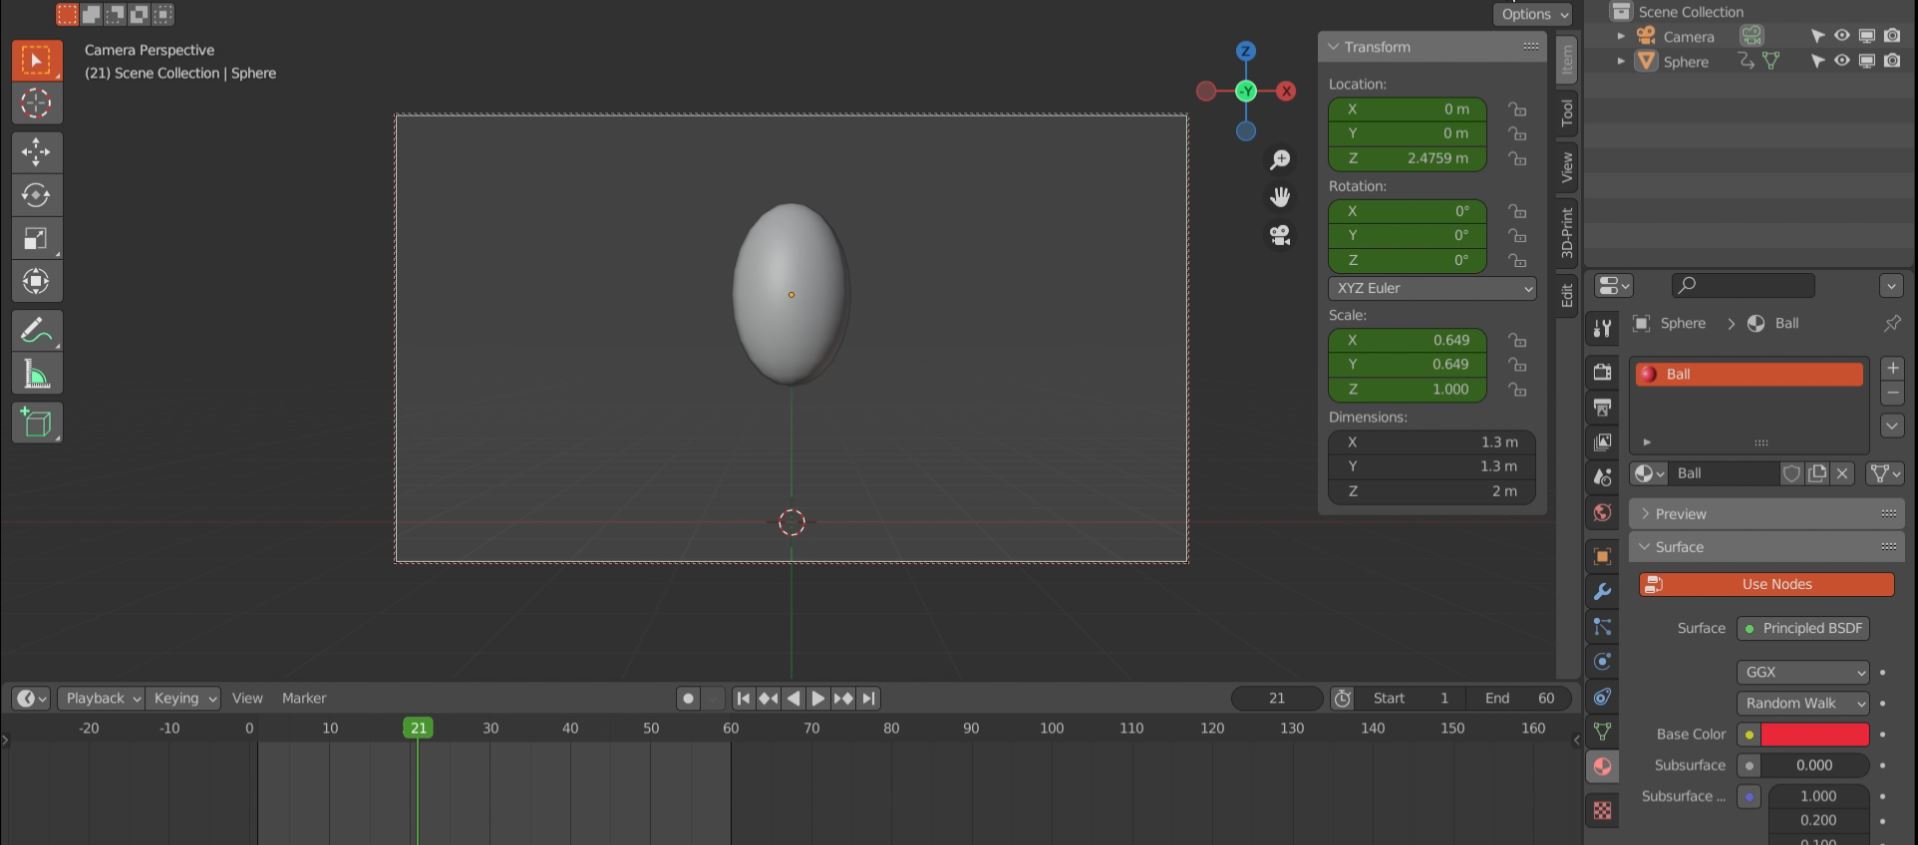
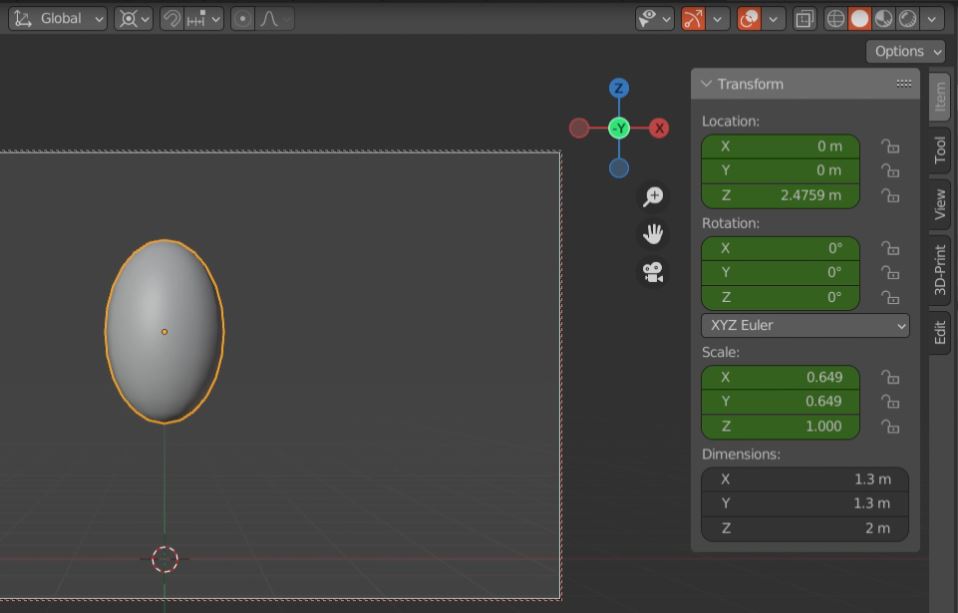
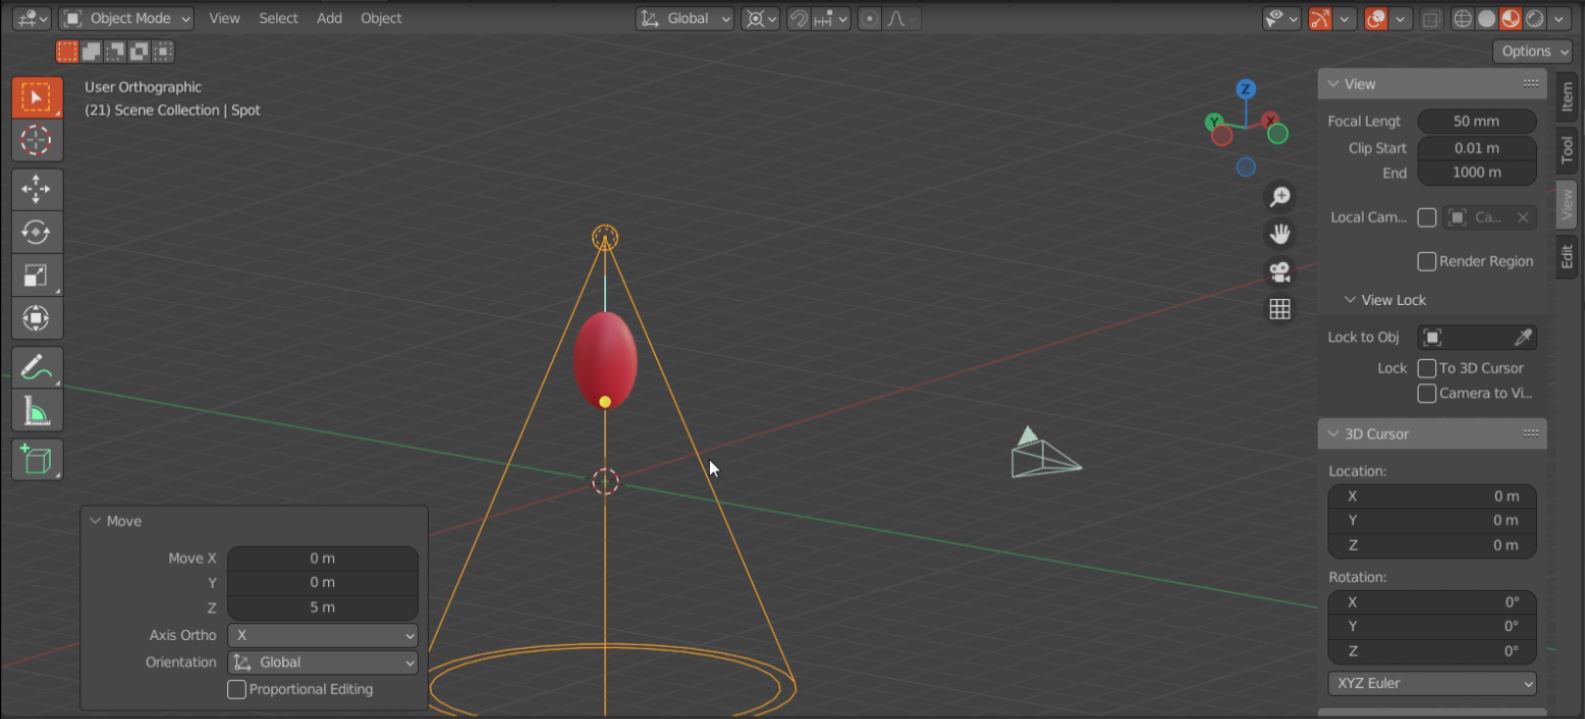
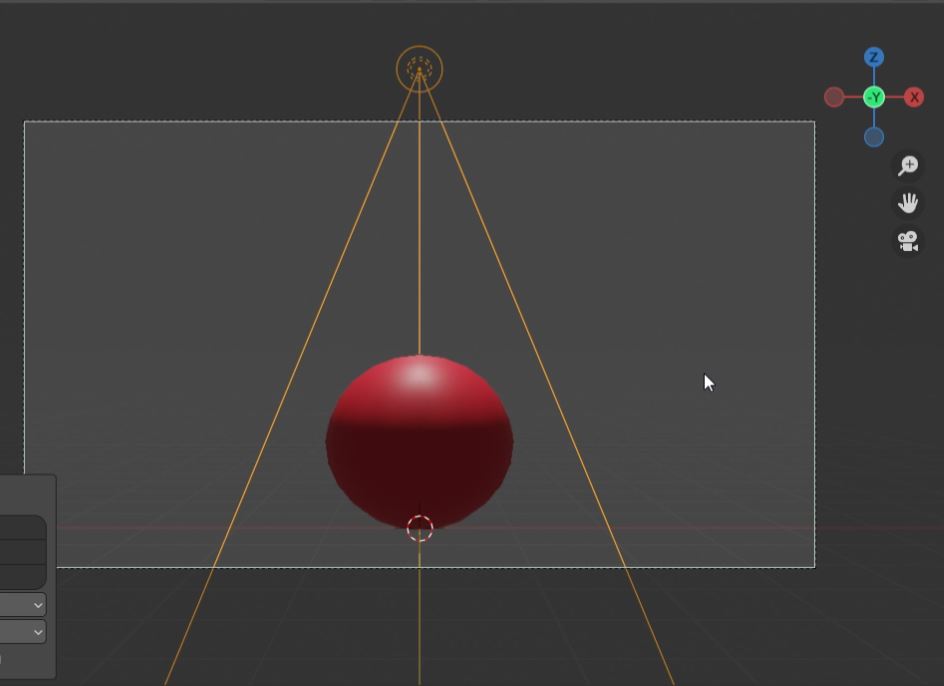
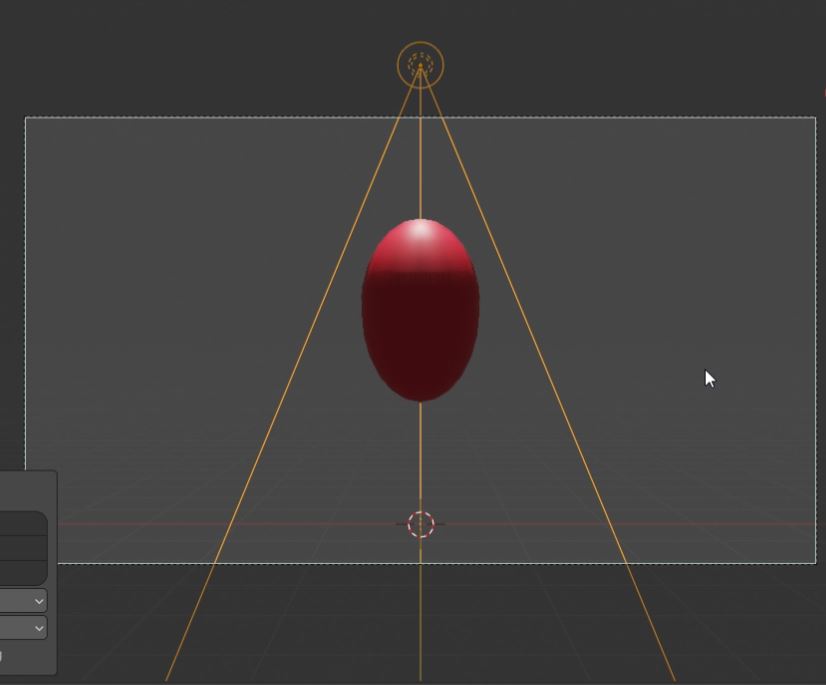
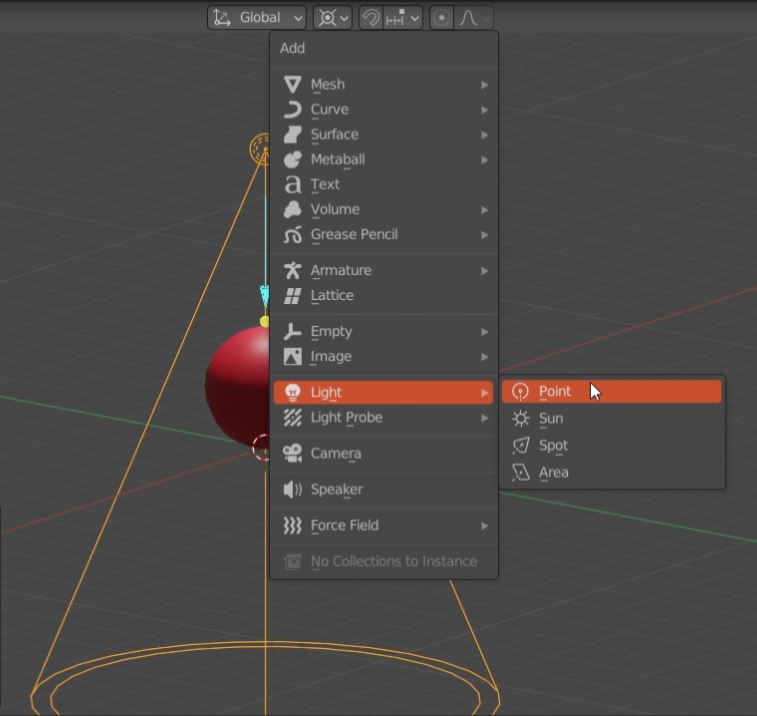
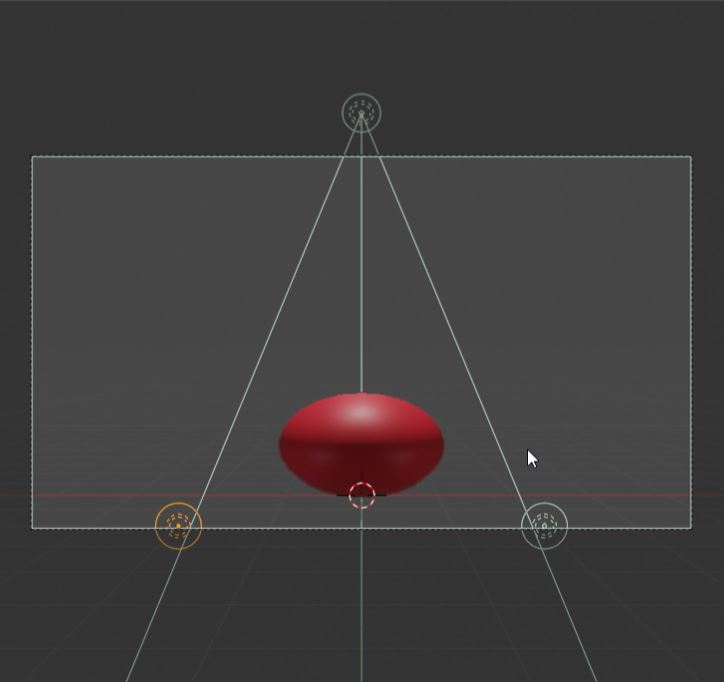
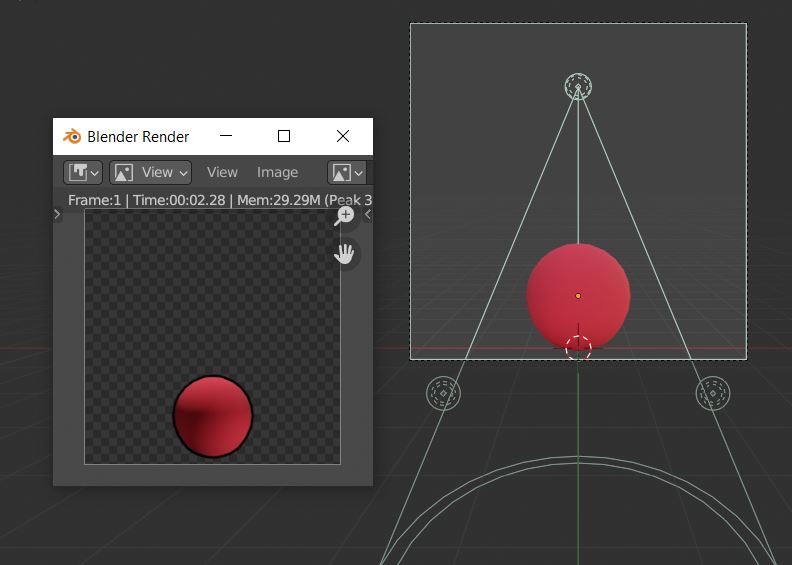
Step 1. - Now that we have a base animation we need to add a camera for rendering. We click shift + A and add it to our scene. The camera will appear at the 3D cursor position. To toggle the camera view we click "0" in the numpad. We can set the camera position by going to the view tab on the right of the viewport. And toggling the camera to view button. As shown below:
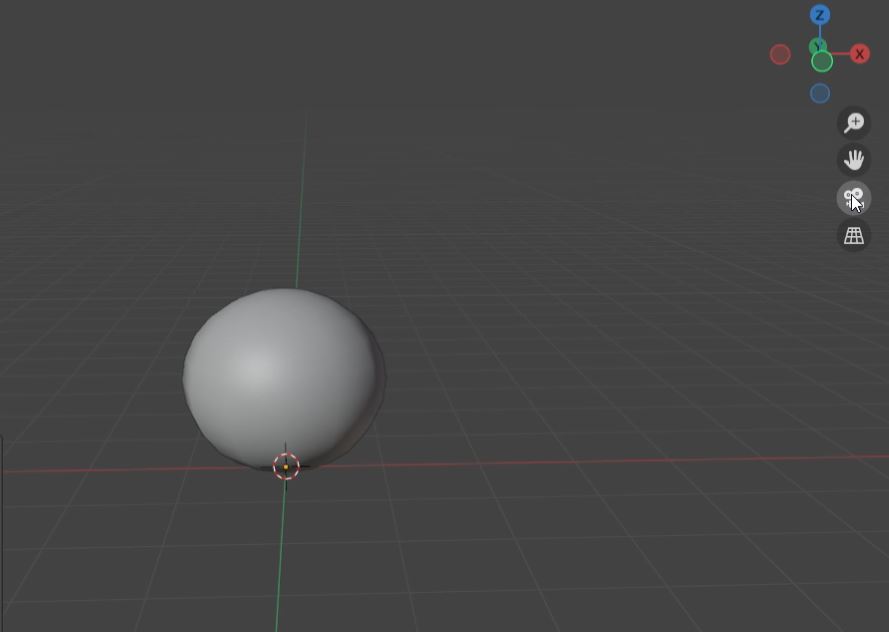
We can also toggle the camera view clicking the camera icon in the viewport.
Step 2. - Now you can zoom out and start positioning your camera. You can click "Shift + Middle mouse button" this will allow you to pan the camera horizontally and vertically. you can also rotate by just clicking the "Middle mouse button". Once you placed the camera in a place of your linking
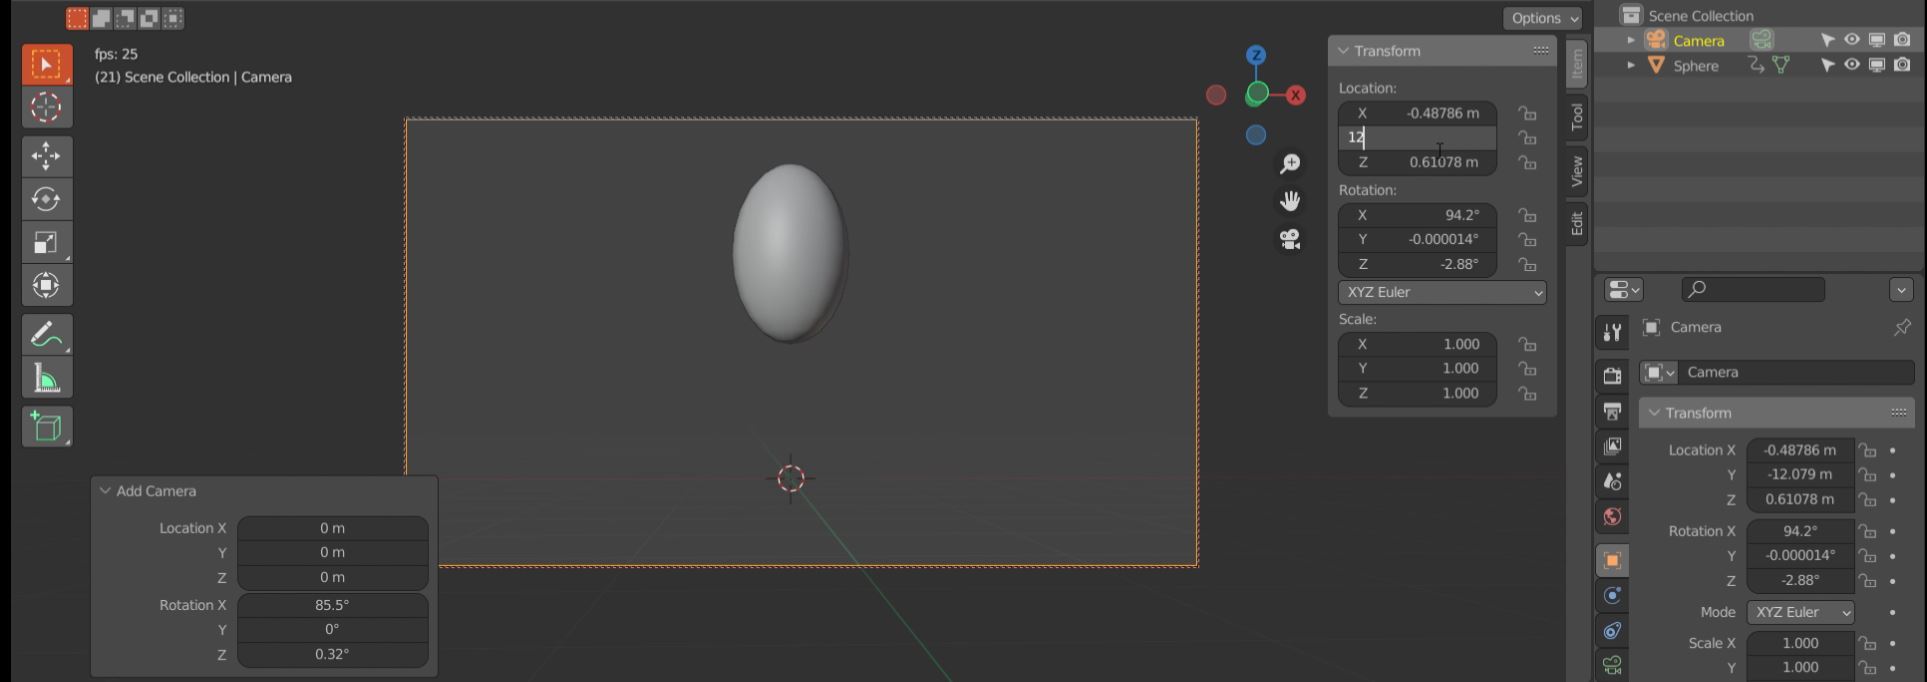
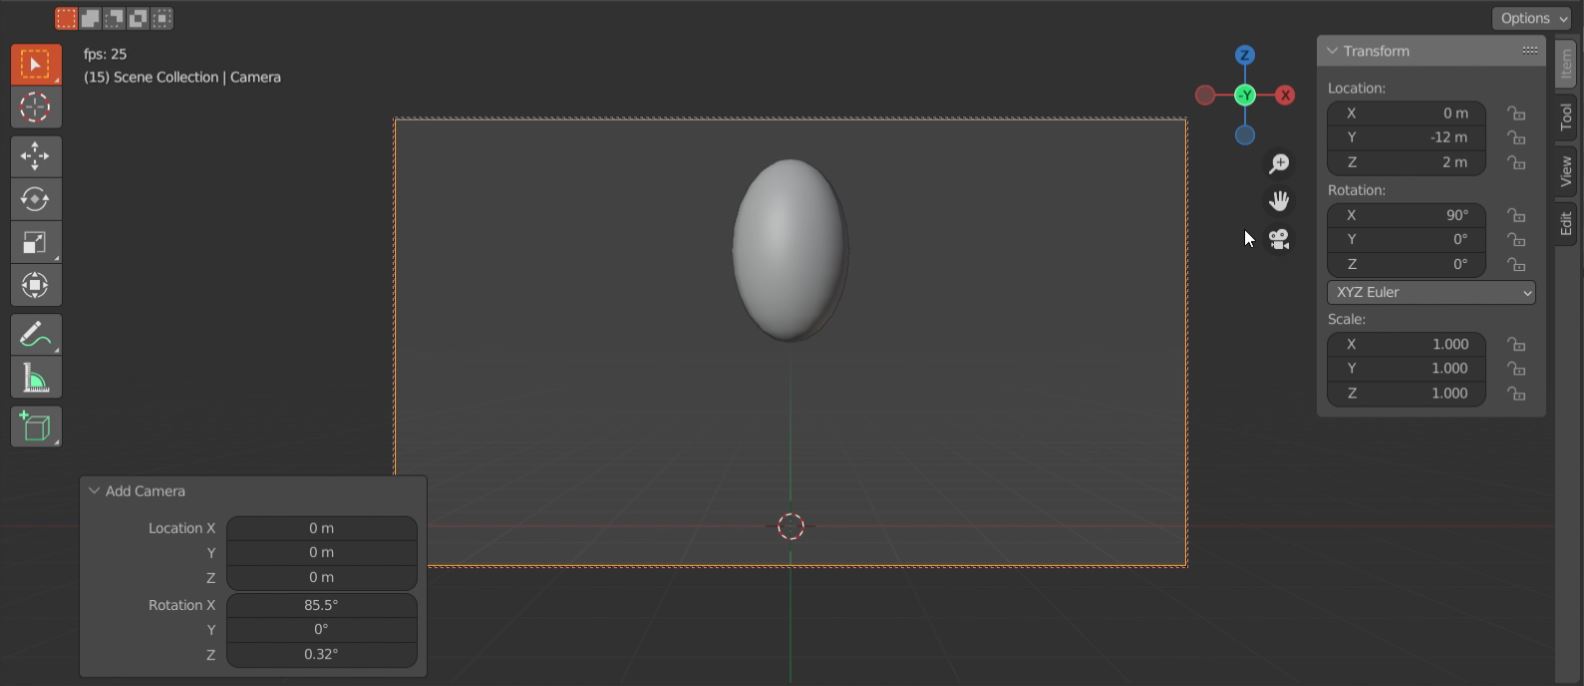
In addition you can move the camera (if selected) in the "item" tab modifying the transforms location and rotation.
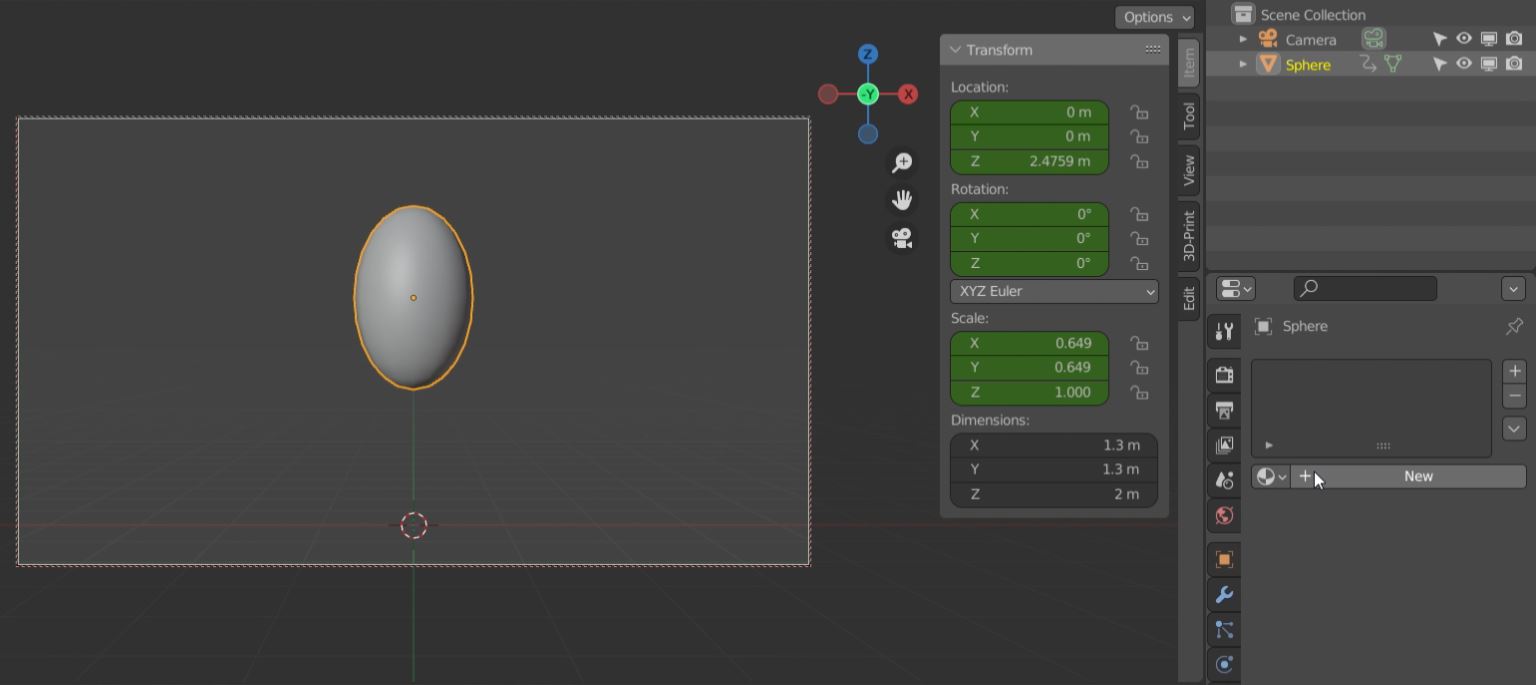
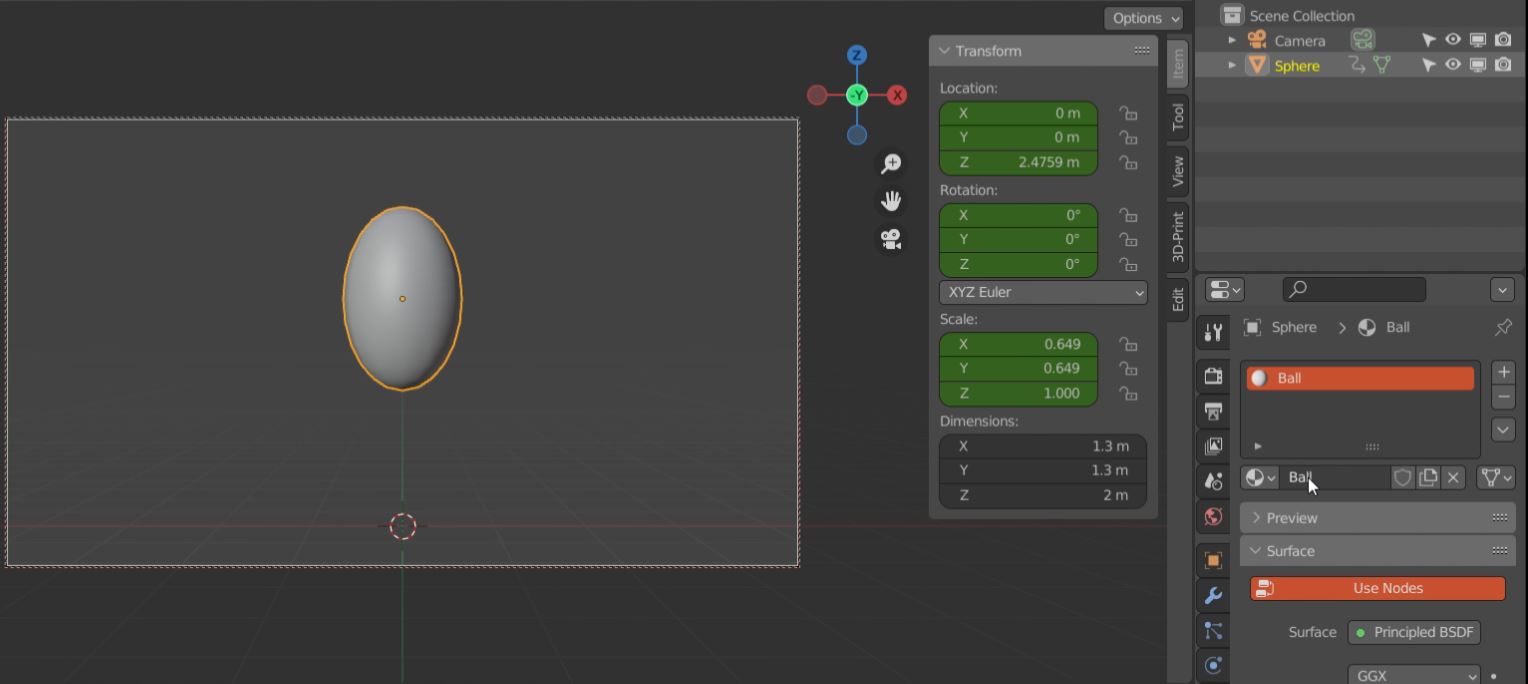
Step 3. - Now that we have the camera positioned it's time to add the material: We select the ball and then go to the material properties tab. We click new and name the material.
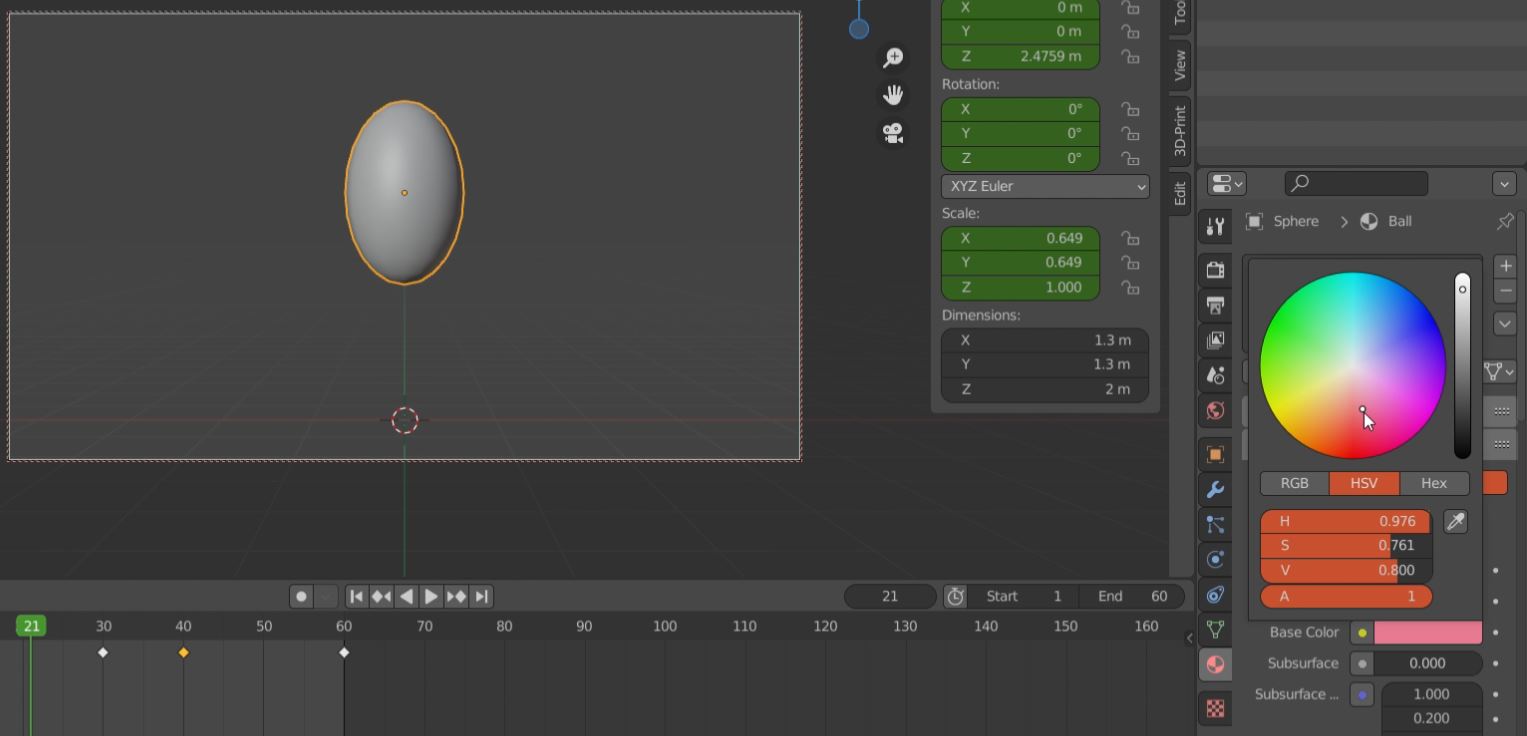
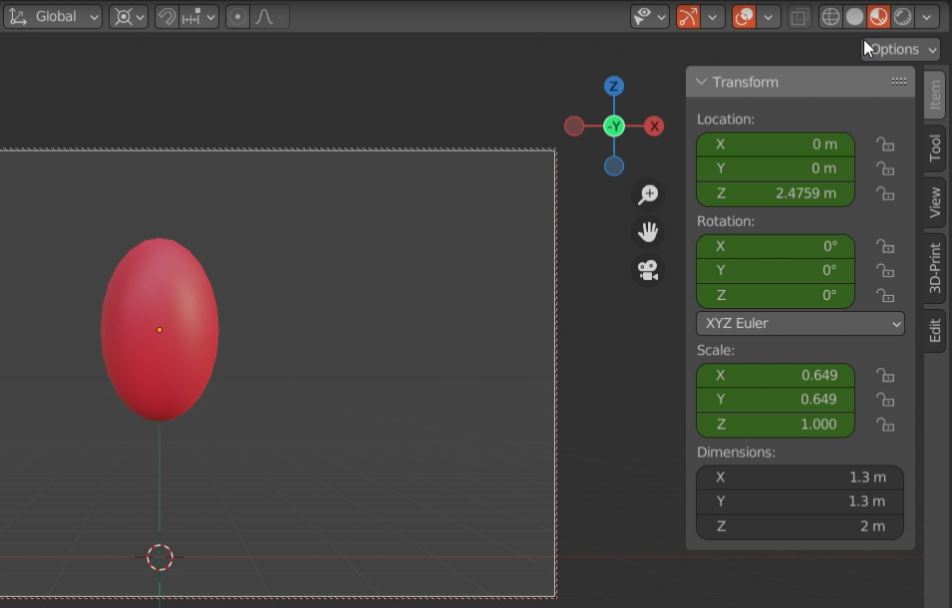
By selecting the base color value button we open up the color wheel. In there we have various options to define a color RGB, HSV amd HEX. We select the color we like the most and ta da! We have a base color for our ball.
We need to change the viewport shading so we can see the color in our object, we can do this by hitting "Z + 2" or selecting material preview in the top right corner of our viewport.
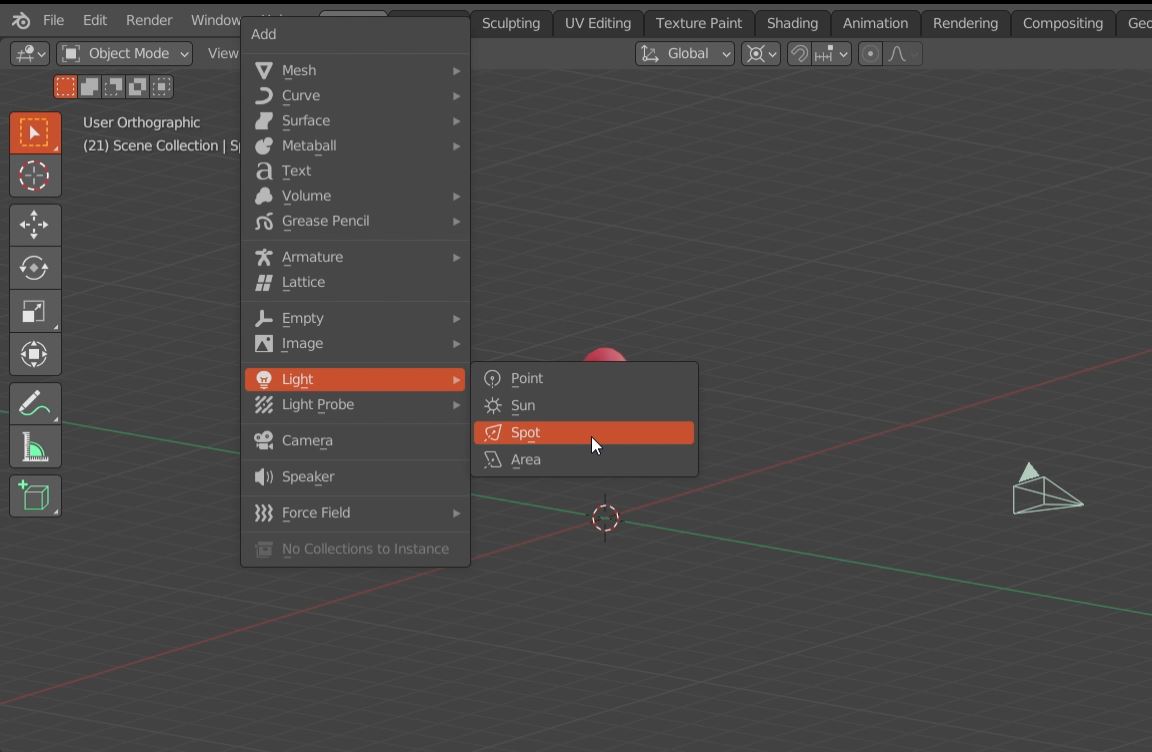
Step 4. - Now its time for the lights. We go to object mode and click "Shift + A" and Select our light type. This may vary depending on the effect we want to achieve in our object. In this case I went with a "spot" light. Once whe add it we have to position it where is most convenient for our scene. I want it on top of our ball so i just hit "G + Z + Numpad 5". You can go to the camera view ("Numpad 0") and preview the light in the scene.
I added 2 more point lights to the scene. Like i said before, you can play with the lights position and intensity until you are satisfied with the results.
If we want to remove the relfection of the lights from the ball, we can go to the material's property tab and increase the roughness and that should've solved it.
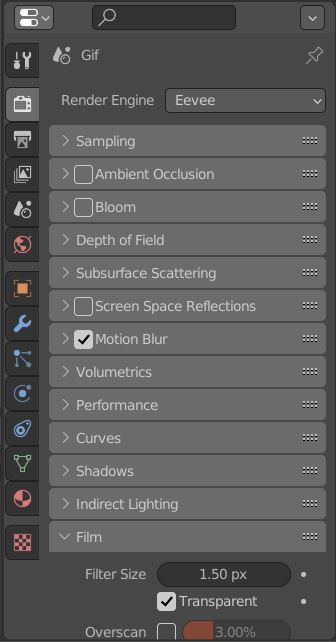
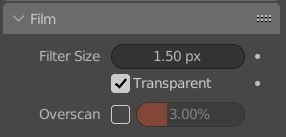
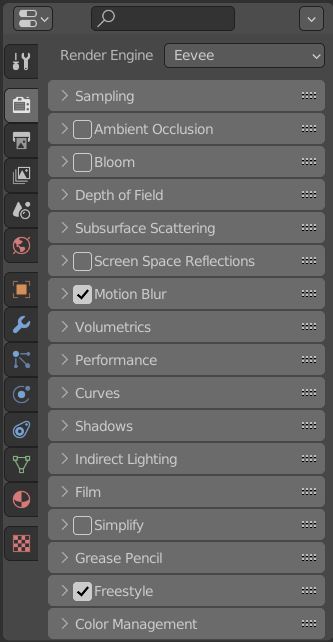
Step 5. - Now that we have set up our basic lighting and camera, it's time to define the render properties. We can go to the Render Properties tab, and select the render engine we want to use, in this case I am using Eevee, you could also choose cycles, it depends on the results you want to achieve. The next thing we want to check and since we are using this in unity as a game asset, is the background of our render, we can see it in this same tab but under the Film Tag. In there we tick the transparent box, so we dont have any interfering background color once we open it in Unity.
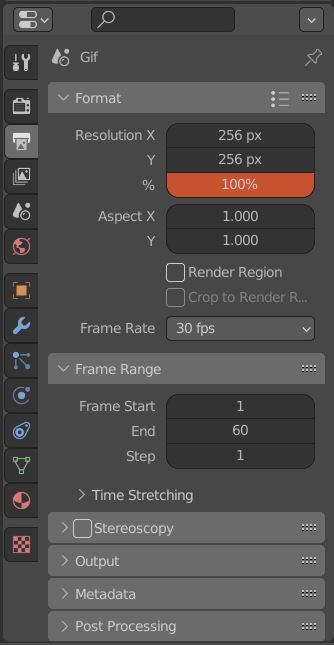
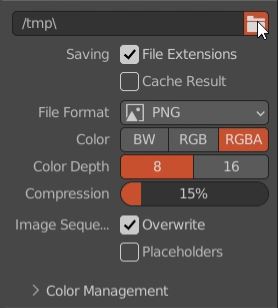
Step 6. - Now we go to the output properties tab, we go to the format tag and in the resolution "x" and "y" we control the size of our image, as you can see I went with 256 x 256 pixels which is a good size for the sprite we are trying to create. But as always you are free to select the size that accomodates you better. We now go to the output tag and we have to keep focus on 3 parameters. The location where we want the rendered images to be saved, the file format we want for our images and, selecting the RGBA in color. If we don't the images won't be transparent.
So i believe we are ready for Rendering!
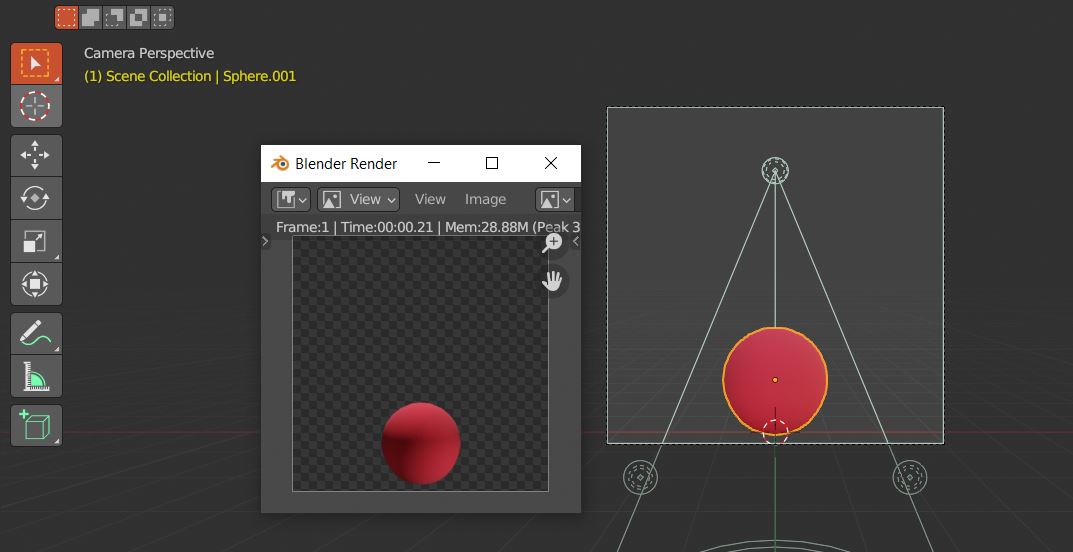
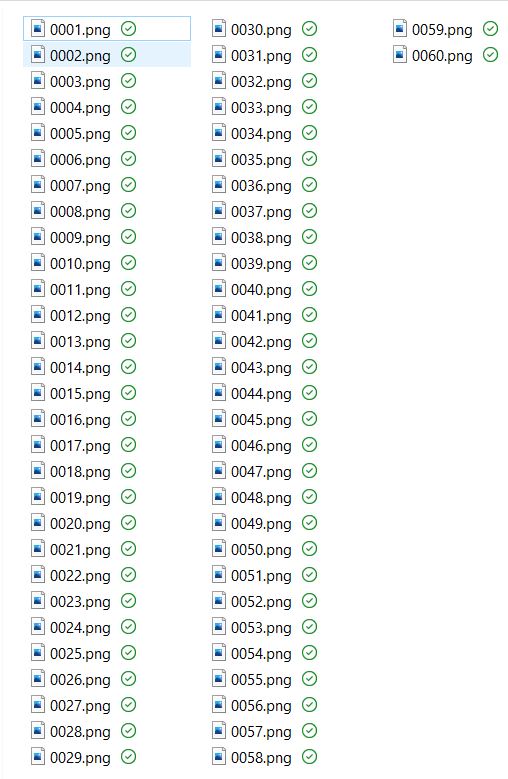
Step 7. - We are ready for rendering! So we will go over some basic shortcuts. If we hit "F12" blender will open a new window and display the current frame we are in rendered; Know if we hit "Ctrl + F12" Blender will star rendering all the images in our case it will be 60 (1 for each frame we've got) the images will go to our selected directory and that will take us to our next step. (We are almost finished)
As an optional step we can activate freestyle, wich is the black outline my animation has. To do this is real simple you go to the render properties tab and look for the freestyle tag, we hit the box and Listo! We have our freestyle outline. Sometimes it will not work as we expect but i will go more into detail in another "how to."
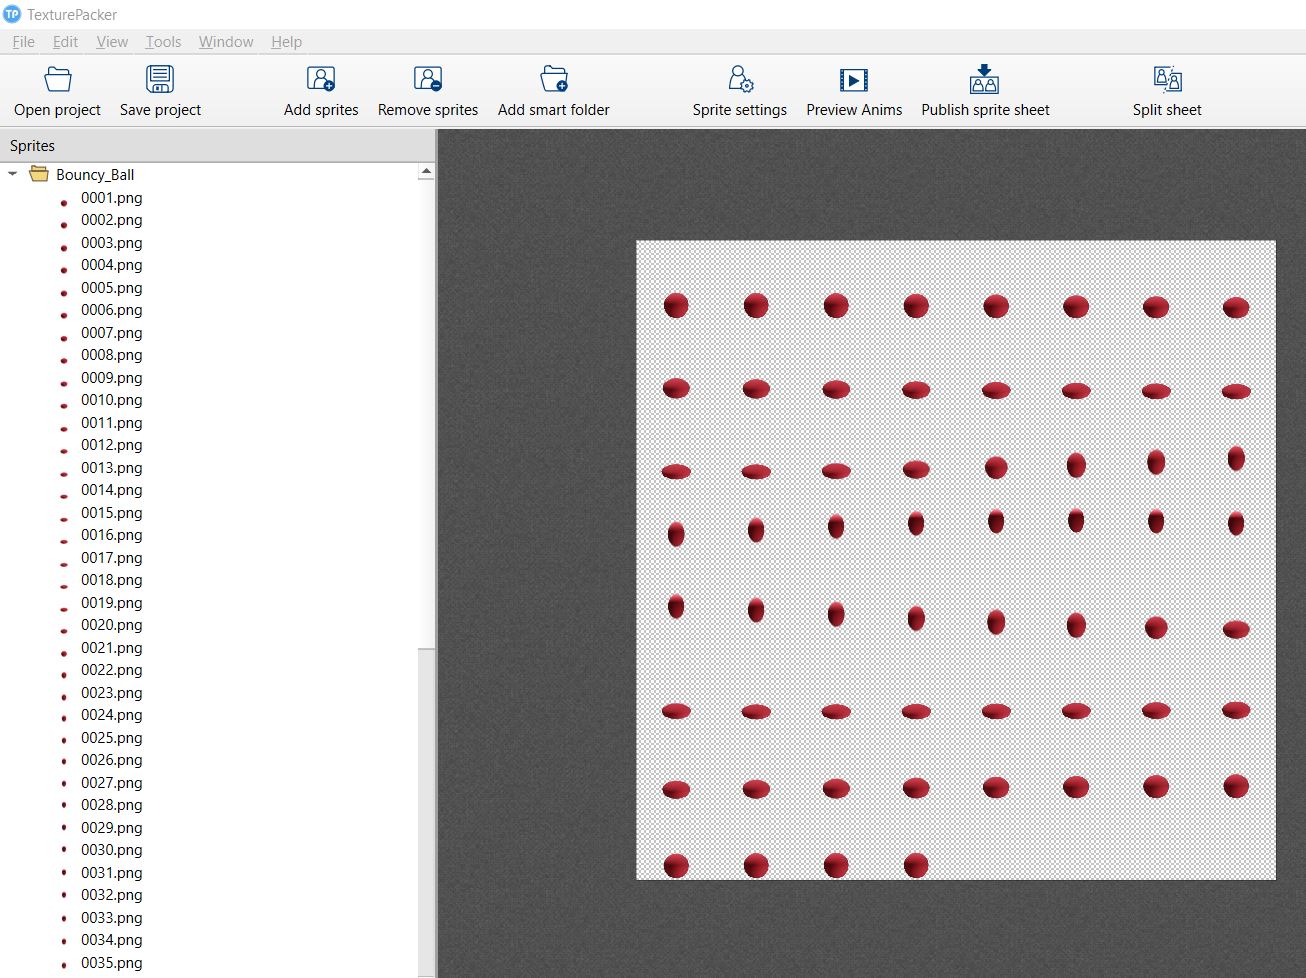
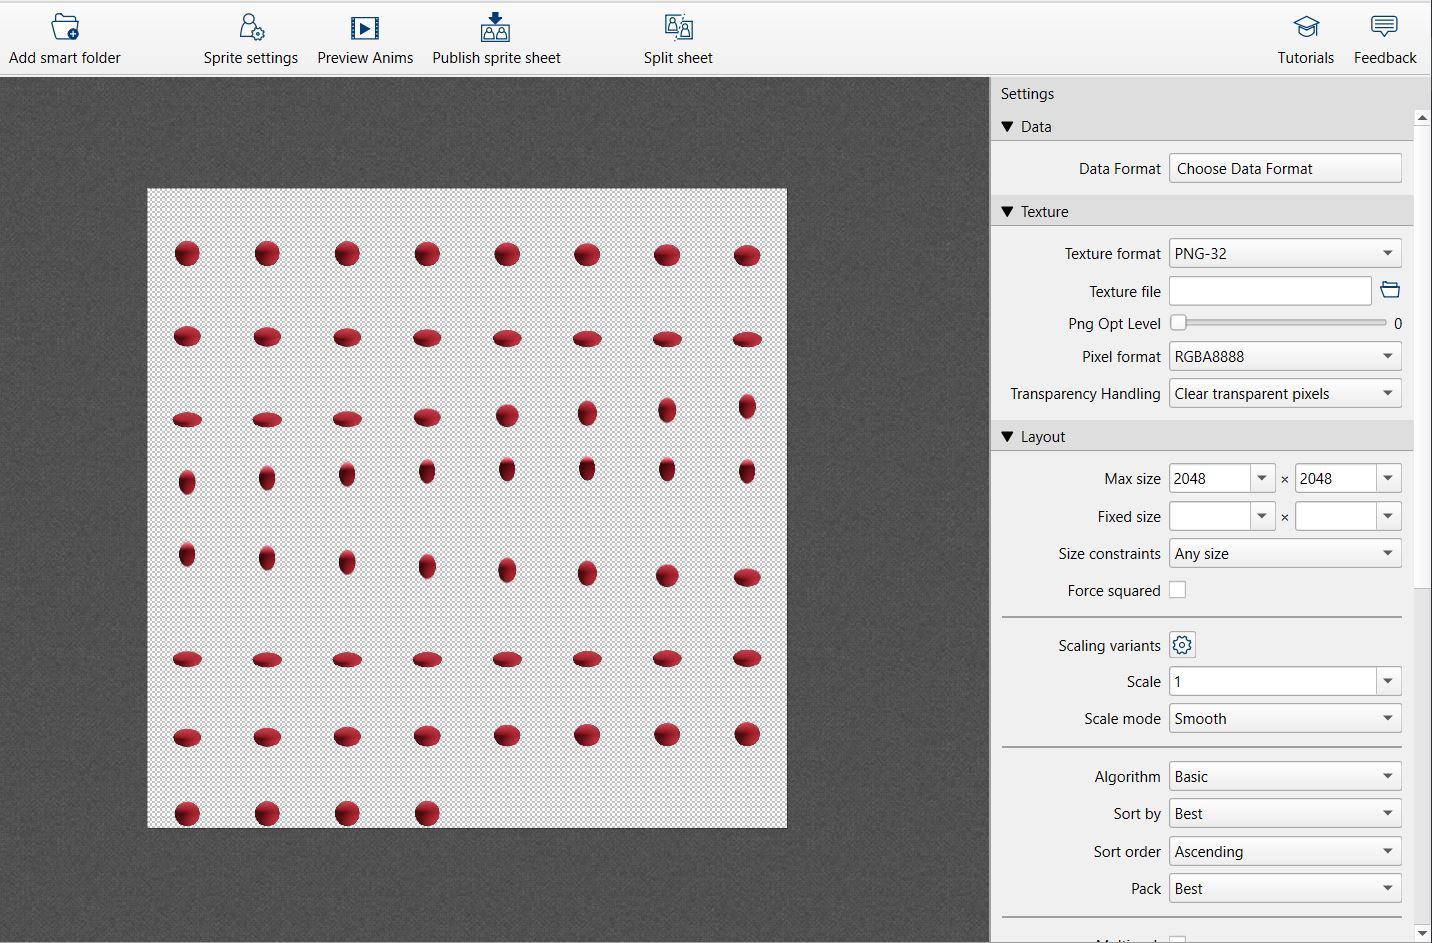
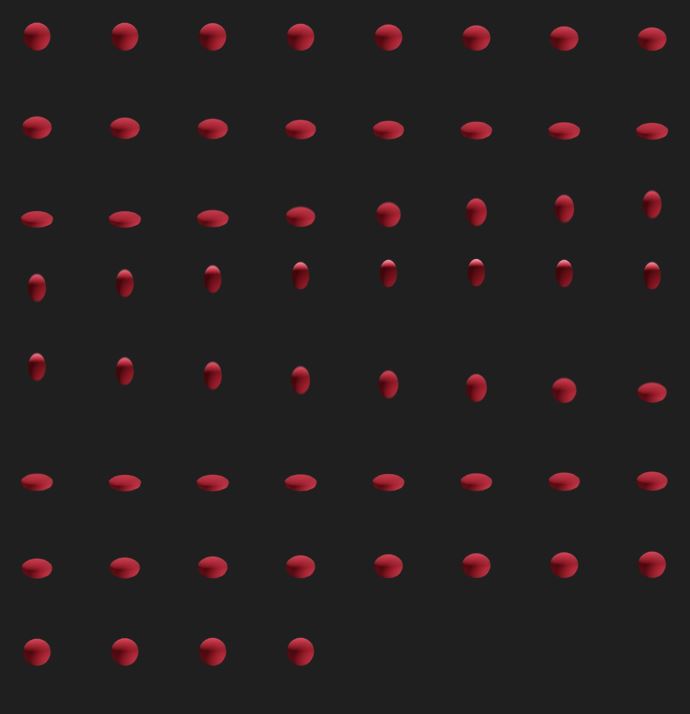
Step 8. - We finally have our animated ball rendered, so the next step is real simple. We open texture packer (I am using the free version). I find it to be a really practical and easy to use tool, hope it helps you too. Once it is open i like to drag the folder containing my rendered images and drop it in the sprites window. As you can see it will create a "Sprite Sheet" we can modify the size and format of our sheet in the setting window on the right. Since this will not contain any other sprites or any other animations, we can just go ahead and click on "publish sprite sheet".
That's it we are ready for the next "How to" and wrap this up!
